To clean makeup brushes, swirl them in lukewarm water with a gentle cleanser against a textured surface, keeping water out of the ferrule (the metal band at the base) to protect their shape. Rinse, reshape, and dry bristles-down to clear old product, oils, and bacteria.
- Dirty brushes harbor bacteria, old product, and skin oils, leading to clogged pores, irritation, and breakouts.
- Regular cleaning improves makeup application by ensuring bristles can pick up and deposit pigment evenly.
- Keeping water out of the ferrule is crucial for preventing bristles from shedding and maintaining brush shape.
- A gentle cleanser like baby shampoo and lukewarm water are the primary tools needed for cleaning.
- Swirling bristles against a textured surface helps to thoroughly remove buildup without damage.
- Drying brushes bristles-down prevents water from entering the ferrule and preserves the glue.
Rinse Bristle Tips
Hold the brush bristles-down and wet only the tips under lukewarm water.
Add Cleanser
Put a pea-sized amount of baby shampoo or solid brush soap onto your palm or mat.
Swirl to Lather
Gently swirl the damp bristles in circles against your palm or mat.
Learning how to clean makeup brushes properly is the single cheapest upgrade you can make to both your skin and your makeup application. Dirty brushes hold a mix of old foundation, powder, natural skin oils (sebum), dead skin cells, and bacteria, and every time you dip them back into your products you move that cocktail around your face. The good news is that the method is simple and forgiving: a gentle cleanser, lukewarm water, a palm or silicone mat to swirl against, a careful rinse, and patient flat drying. The one rule that matters more than any other is keeping water out of the ferrule, the metal band that crimps the bristles to the handle. Get that part right and your brushes will shed less, hold their shape, and last for years.
Never use hot water, harsh soaps, alcohol, or boiling water, as these can damage bristles and loosen the ferrule glue.
This guide walks through exactly what to use, the step-by-step wash, why bristles-down drying protects your tools, a deep-clean versus quick-refresh comparison, how to clean a beauty blender, the mistakes that quietly ruin brushes, and how often the whole routine actually needs to happen.
Why does cleaning your makeup brushes matter so much?
A makeup brush is a small, damp, product-coated surface that touches your face repeatedly, which makes it an ideal home for bacteria. Dermatologists interviewed by outlets like Well+Good and the American Academy of Dermatology consistently link unwashed brushes to clogged pores, irritation, and breakouts, and the connection is strongest for people with acne-prone or oily skin. Beyond hygiene, buildup degrades performance: a foundation brush caked with dried product cannot pick up and deposit pigment evenly, a blush brush loaded with three shades will muddy whatever you apply next, and a fluffy blending brush stiffens and stops diffusing color. Clean bristles simply move makeup the way the brush was designed to.
There is also a longevity argument. Natural-hair brushes behave like the hair on your head, and product residue plus skin oil left to dry builds a crust at the base of the bristles that eventually splays them. Regular, gentle washing keeps the hairs supple and the shape intact, which protects an investment that can run well over a hundred dollars for a full set.
What do you need to clean makeup brushes at home?
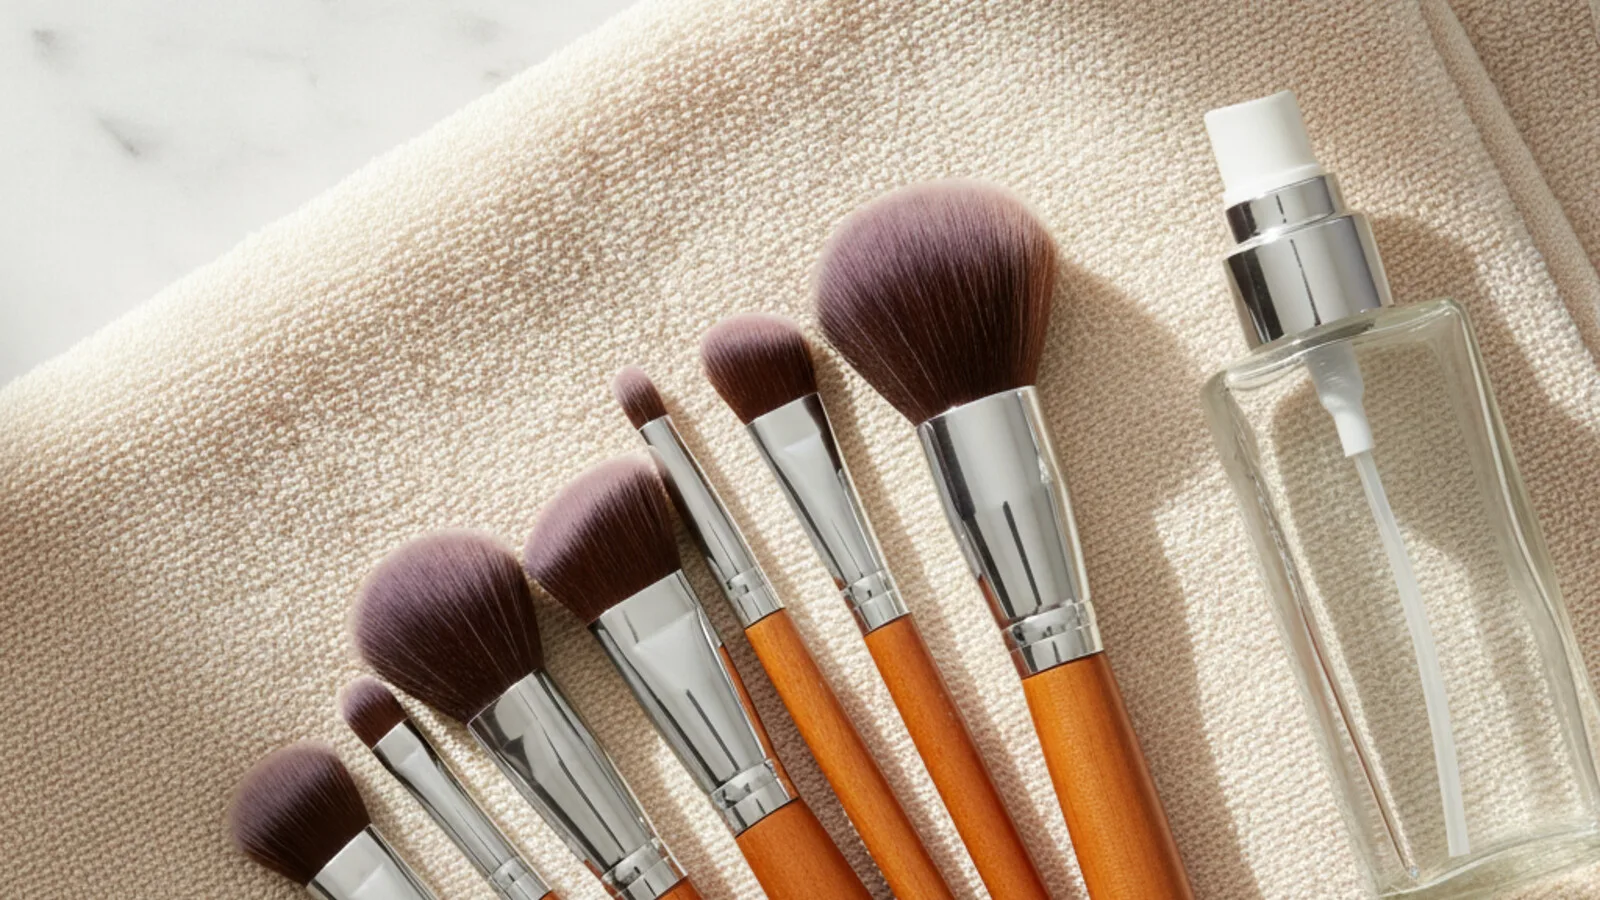
One of the best things about learning how to clean makeup brushes at home is that you almost certainly already own everything required. There is no need for a specialty kit, though a few optional tools speed things up.
- A gentle cleanser. A fragrance-free baby shampoo is the most-recommended option because it lifts oil and pigment without stripping the bristles the way a harsh detergent can. A dedicated solid brush soap (such as the ones sold by brush brands) or a mild, gentle liquid soap also works well. Makeup artist Bobbi Brown has pointed to gentle baby shampoo or a gentle dish soap for this reason.
- Lukewarm water. Not hot. Heat loosens the glue inside the ferrule and can damage natural bristles. Lukewarm is the consistent recommendation across beauty editors and tool makers.
- A textured surface to swirl against. Your clean palm is free and works fine. A silicone cleaning mat or glove with ridges gives extra friction for dense foundation brushes, but it is a convenience, not a requirement.
- A clean towel. For blotting excess water and for the drying stage.
- A bowl (optional). Useful for a pre-soak of the bristle tips only, and essential for the beauty blender method below.
Skip anything abrasive: no bar of harsh soap on natural bristles, no alcohol, no boiling water, and no dishwasher. If you only have a gentle dish liquid like the classic Dawn, a tiny amount diluted in water is a widely used fallback, though a baby shampoo is kinder to the hairs over the long run.
How do you clean makeup brushes step by step?
Here is the core wash. It takes about a minute per brush once you have the rhythm, and the sequence is built entirely around protecting the ferrule. The guiding principle to repeat to yourself throughout: point the bristles down, and wet only the bristles.
- Rinse the bristle tips under lukewarm running water. Hold the brush with the handle angled up and the bristles pointing down toward the drain, so water flows off the tips and never travels up into the ferrule. Wet only the hair, ideally just the lower half to two-thirds, not all the way to the metal.
- Add a small amount of cleanser. Put a pea-sized squirt of baby shampoo or a swipe of solid brush soap onto your palm or silicone mat. A little goes a long way; you are cleaning hairs, not doing laundry.
- Swirl to work up a lather. Gently swirl the damp bristles in circles against your palm or the mat. You will see the water run colored almost immediately. For a foundation or concealer brush with heavy buildup, keep working the lather for 20 to 30 seconds and press lightly to get cleanser into the center of the brush head.
- Rinse until the water runs clear. Return to the running water, bristles still pointing down, and rinse. Keep swirling the tips in your palm under the stream until the runoff is completely clear with no cloudiness or color. Residual soap left in the brush will dry stiff, so rinse longer than you think you need to.
- Squeeze out excess water gently. Pinch the bristles from base to tip between your fingers, or press them into a clean towel, to push out water. Be gentle; yanking or wringing stresses the hairs and the glue.
- Reshape the brush head. While the bristles are still damp, use your fingers to mold the head back into its original shape, a tapered point for a pointed brush, a flat edge for a flat brush, a dome for a buffing brush. Bristles dry in whatever shape you leave them.
- Lay flat to dry (covered in detail below). Set the brush down with the head hanging off the edge of a counter so air reaches it from all sides.
If a brush is especially dirty, you can start with a short pre-soak: fill a bowl with lukewarm water and a drop of cleanser and dip just the bristle tips, never submerging the ferrule, for a minute before you begin swirling.
How should you dry makeup brushes, and why bristles-down?
Drying is where most people accidentally destroy brushes they just cleaned, so it deserves as much attention as the wash. The method is straightforward: blot, reshape, and lay the brush flat on a towel with the bristles hanging over the edge of the counter or table. That overhang lets air circulate around the whole head instead of trapping moisture against a flat surface, and it keeps the head from drying in a squashed shape.
The reason this matters comes back to the ferrule. When a brush dries upright in a cup or jar with the bristles pointing up, gravity pulls the remaining water straight down into the ferrule and handle. Over time that water does three bad things: it dissolves and weakens the adhesive holding the bristles, which causes shedding; it can cause corrosion or loosening where the metal meets the handle; and in wooden handles it can even lead to rot and cracking. Bristles-down (or flat with the head off the edge) keeps water flowing away from the glue instead of into it.
A dedicated brush drying rack that holds brushes head-down or on their side is a nice upgrade and achieves the same goal of airflow plus away-from-ferrule drainage. Whatever surface you use, let the brushes air-dry completely before the next use. Thin brushes may be ready in a couple of hours; dense foundation brushes and large powder brushes can take several hours or overnight. Resist the urge to speed it up with a blow dryer. Direct heat can warp the brush head, melt the ferrule glue, and accelerate shedding; if you are truly in a rush, the gentlest option is a hair dryer on a cool, low setting held well back, but patience is better for the brush.
Why Clean Your Makeup Brushes?
Cleaning makeup brushes offers multiple benefits for both your skin and your tools.
| Benefit | Impact on Skin | Impact on Brushes | Impact on Makeup Application |
|---|---|---|---|
| Hygiene | Prevents breakouts, irritation | Extends brush life | Ensures even product distribution |
| Performance | Reduces clogged pores | Maintains bristle shape | Prevents muddying of colors |
| Longevity | Avoids bacterial transfer | Stops bristle splaying | Allows smooth blending |
Deep clean vs. quick clean: which do you need?
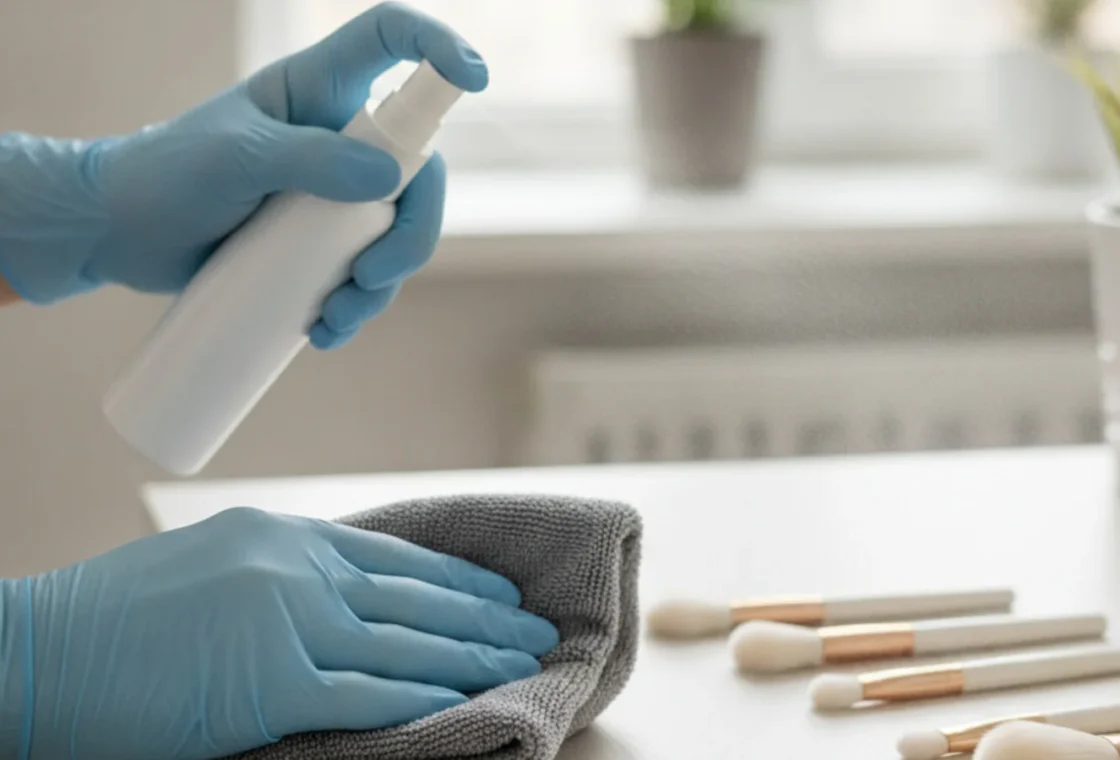
Not every cleaning has to be a full wash. Professional makeup artists who switch between clients use a fast, drying “spot clean” on set, then do a thorough wash later. For home use it helps to know the difference so you can keep brushes usable day to day without waiting hours for them to dry.
| Factor | Deep clean (full wash) | Quick clean (spot clean) |
|---|---|---|
| What it is | Water plus gentle cleanser, rinsed until clear | A brush-cleaning spray or a little alcohol-based cleaner wiped onto a towel |
| What it removes | Deep product buildup, oil, dead skin, and bacteria from the full brush head | Surface pigment so you can switch shades; disinfects the top layer |
| Dry time | Hours to overnight | Seconds to a couple of minutes |
| Best for | Foundation, concealer, and anything used with liquid or cream products | Powder and eyeshadow brushes mid-look, or swapping colors quickly |
| How often | Roughly weekly for liquid-product brushes | As often as needed between deep cleans |
| Limitation | Takes time and must dry fully before reuse | Does not truly deep-clean; buildup and bacteria accumulate without a real wash |
The practical takeaway: a quick spot clean is perfect for changing eyeshadow colors in one sitting, but it is not a substitute for the real thing. Bacteria and hardened product still build up, so the water-and-cleanser deep clean has to happen on a schedule.
How do you clean a beauty blender or makeup sponge?
A damp makeup sponge like a Beautyblender is arguably worse than a brush for harboring bacteria, because it stays moist and its porous foam soaks product deep into the center. The maker’s own guidance is to wash it after every use, and because it is held right against the skin, that advice is worth taking seriously, especially with liquid foundation.
The reliable way to clean a beauty blender is the soap-and-squeeze method:
- Saturate the sponge under lukewarm running water until it swells to its full, expanded size. A wet sponge is softer and releases product more easily than a dry one.
- Apply a gentle cleanser. Work a small, roughly dime-sized amount of mild liquid soap or baby shampoo into the sponge, or swipe the wet sponge across a solid cleansing bar made for sponges. Dish soap in a pinch works but a gentle cleanser leaves less residue.
- Squeeze and massage repeatedly. Press and roll the sponge in your palm or against a textured mat so the soap pushes through the foam. You will see foundation flood out, especially from the wide base.
- Rinse until it runs clear. Hold it under water and keep squeezing. The key test: keep going until the liquid you squeeze out is clear water rather than tinted suds. Stained foam can be normal, but the runoff should be clean.
- Squeeze out excess water and air-dry. Press it in a towel, then set it somewhere open with good airflow so it dries fully before the next use. A perpetually damp sponge grows mold, so complete drying matters.
You may have seen a microwave “hack”: submerge the sponge in a microwave-safe bowl of soapy water and heat it briefly. If you try it, use short bursts and let it cool before touching, because the sponge and bowl get very hot and the foam can scorch and tear if overheated. Honestly, the plain soap-and-squeeze routine is safer and nearly as fast, so the microwave method is optional at best. Sponges also wear out faster than brushes, so plan to replace them every few months, or sooner if the foam tears or stops bouncing back.
What are the biggest mistakes to avoid?
Most brush damage comes from a handful of habits rather than from washing itself. Avoid these and your tools will outlast several rounds of less careful cleaning.
- Letting water into the ferrule. The number-one error. Submerging the whole brush head, holding it bristles-up under the tap, or soaking it in a full bowl all drive water into the metal band, dissolve the glue, and cause shedding. Always point the bristles down and wet only the hair.
- Drying brushes upright. Standing a wet brush in a cup funnels water into the ferrule and handle, the exact problem you were trying to avoid while washing. Dry flat with the head off the edge, or head-down on a rack.
- Using hot water. Heat melts adhesive and can damage natural bristles. Lukewarm only.
- Blow-drying on high heat. Fast, but it warps heads and loosens glue. Air-dry, or use cool air at a distance if you must.
- Harsh cleansers or scrubbing hard. Abrasive soaps, alcohol soaks, and aggressive wringing dry out and splay the bristles. Be gentle and let the cleanser do the work.
- Skipping the rinse. Leftover soap dries stiff and crusty and can irritate skin. Rinse until the water is fully clear.
- Forgetting to reshape. Bristles set as they dry, so a brush left in a splayed clump will stay splayed. Reshape while damp.
- Washing too often. Overwashing, as in after every single use, can wear brushes out prematurely. Match frequency to how the brush is used.
How often should you clean makeup brushes?
Frequency depends on what the brush touches and how your skin behaves, and this is where the skincare and acne reasoning drives the schedule. Liquid and cream products are the biggest bacteria risk because they stay moist, so those brushes need the most attention.
- Foundation and concealer brushes: about once a week. Dermatologists quoted by sources including the Cleveland Clinic and Geisinger land on roughly weekly for brushes used with liquid products, with a general range of every 7 to 10 days.
- Powder, blush, and bronzer brushes: every two weeks or so. Dry-product brushes can go a bit longer between washes.
- Eye brushes: because the eye area is sensitive, aim for at least every couple of weeks, and sooner if you have had any eye irritation.
- Acne-prone or oily skin: more often. Several dermatologists suggest at least weekly and sometimes multiple times a week for liquid-product brushes if you break out easily, since transferred oil and bacteria can worsen acne.
- Beauty blenders and makeup sponges: effectively after every use, and at minimum weekly, because the damp foam is such a ready home for bacteria.
If you notice makeup consistently triggering breakouts even with clean tools, that is worth raising with a board-certified dermatologist rather than only cleaning harder. And while it is tempting to overcorrect, remember the caution against washing after every single use for everyday brushes; the goal is a consistent rhythm, not constant soaking.
Always point bristles down when rinsing and drying to prevent water from seeping into the ferrule.
Your quick makeup brush cleaning checklist
Keep this near your sink as a fast reference for every wash:
- Use lukewarm water and a gentle, fragrance-free cleanser such as baby shampoo or a dedicated brush soap.
- Point bristles down; wet only the hair, never the ferrule.
- Swirl on your palm or a silicone mat to lift product.
- Rinse until the water runs completely clear.
- Squeeze out excess water gently with a towel; do not wring.
- Reshape the brush head while it is still damp.
- Lay flat with the head hanging off the counter edge, never upright.
- Let brushes air-dry fully, a few hours to overnight, before using.
- Wash foundation and concealer brushes weekly; clean sponges after each use.
- Skip hot water, high-heat blow-drying, harsh soaps, and ferrule-first soaking.
Cleaning makeup brushes is not complicated once the logic clicks: everything you do is aimed at lifting product and bacteria off the bristles while keeping water away from the glue that holds the brush together. Nail the bristles-down wash and the flat, patient dry, and you get clearer application, healthier-looking skin, and tools that stay in shape wash after wash.
What works well
- Improves skin health
- Enhances makeup application
- Extends brush lifespan
Watch out for
- NONE
Frequently Asked Questions
What is the best way to clean makeup brushes at home?
Wet only the bristles under lukewarm running water with the brush pointing down, swirl a little baby shampoo or gentle brush soap on your palm or a silicone mat, rinse until the water runs clear, reshape the head, and lay the brush flat to air-dry. Keeping water out of the ferrule is the key to not damaging the brush.
Can I clean makeup brushes with soap?
Yes. A gentle, fragrance-free cleanser works best: baby shampoo, a dedicated solid brush soap, or a mild liquid soap. Avoid harsh or abrasive soaps and alcohol, which dry out and splay the bristles, and always rinse thoroughly so no soap residue dries stiff in the brush.
How often should you clean makeup brushes?
Wash foundation and concealer brushes about once a week, powder and blush brushes every couple of weeks, and clean beauty blenders after every use. If you have acne-prone or oily skin, clean liquid-product brushes more often, because trapped oil and bacteria can worsen breakouts.
How do you dry makeup brushes without ruining them?
Blot out excess water, reshape the damp head, and lay the brush flat with the bristles hanging off the edge of a counter, or use a rack that holds it head-down. Never dry brushes upright, because water runs into the ferrule and loosens the glue. Let them air-dry fully before reuse and skip high-heat blow-drying.
How do you clean a beauty blender?
Saturate the sponge under lukewarm water, work in a gentle cleanser or swipe it on a cleansing bar, then squeeze and massage repeatedly until the water you press out runs clear. Squeeze out the excess and let it air-dry completely so it does not grow mold. Clean it after every use and replace it every few months.