Cleaning car seats requires matching your method to the material and avoiding over-wetting. Cloth seats tolerate gentle scrubbing and foaming cleaners, while leather needs pH-neutral products and conditioning to protect its sealed surface. Both materials benefit from thorough vacuuming and complete drying.
- Always match your cleaning method and products to the specific car seat material.
- Thorough vacuuming is the most important first step for both cloth and leather seats.
- For cloth, use a low-moisture foaming cleaner and blot to avoid saturating the padding.
- For leather, use pH-balanced cleaners and follow up with a conditioner to prevent drying.
- Always spot-test new products in a hidden area to check for discoloration or color transfer.
- Ensure seats are fully dry and ventilated after cleaning to prevent mildew and odors.
Vacuum Thoroughly
Remove loose grit and debris.
Spot-Test Cleaner
Check for discoloration or color transfer.
Pre-Treat Stains
Apply cleaner to set-in spots.
Apply Foaming Cleaner
Mist onto a section of the seat.
Agitate Gently
Work cleaner in with small circular motions.
Blot Out Residue
Press a clean towel into the fabric.
Learning how to clean car seats comes down to two things: matching your method to the material, and never letting water or cleaner soak deeper than the surface. Cloth upholstery and leather behave in opposite ways. Fabric is porous and forgiving of gentle scrubbing but punishes over-wetting with slow drying and mildew. Leather is a sealed, coated surface that resents harsh chemicals and dries out when you strip its oils. Both start the same way, with a thorough vacuum, and both end the same way, with full drying and ventilation. What happens in between is where the two paths split.
Never let water or cleaner soak deeper than the surface of car seats to prevent mildew and long drying times.
This guide walks through the complete routine for each surface, the tools worth having on hand, how to treat the stains that show up most often, how to kill lingering odors, and the mistakes that turn a quick clean into a weekend of drying out a damp interior.
How to clean car seats: why does the material matter so much?
Cloth seats are woven textile, usually a polyester or nylon blend, stretched over foam padding. That padding is a sponge. Anything you pour onto the surface wicks down into it, and getting moisture back out is far harder than putting it in. The upside is that cloth tolerates agitation with a brush and responds well to foaming upholstery cleaners that lift grime to the surface.
Leather seats in most modern cars are not raw hide. They are pigmented, coated leather, finished with a protective clear layer. You are almost always cleaning that finish, not the leather itself. This is why pH matters: aggressive, alkaline cleaners act as degreasers that attack the coating and the natural oils beneath it, leading over time to cracking and discoloration. Leather also needs conditioning after cleaning, a step cloth never requires. Treat these as two separate jobs with two separate kits, and spot-test everything first, because color transfer and discoloration are real risks on both materials.
What do you need before you start?
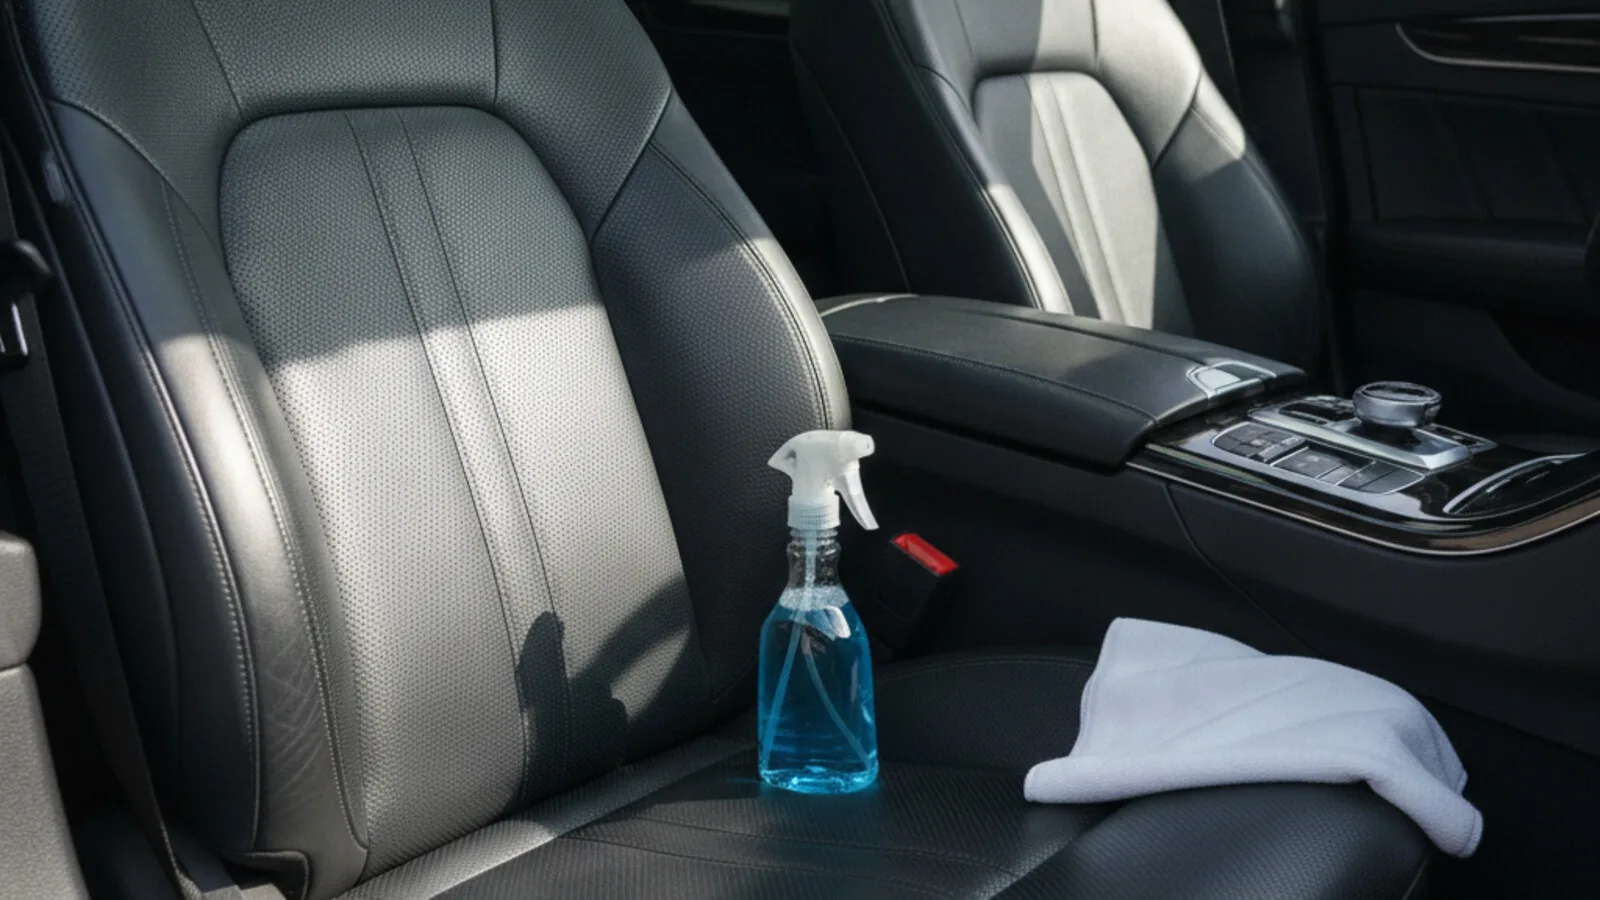
You do not need a professional detailing arsenal, but the right basics make the difference between a clean seat and a soggy one. Gather these before you begin so you are not hunting for a towel mid-job with a wet seat in front of you.
- A vacuum with an upholstery and crevice attachment. A shop vac or wet/dry vac is ideal because it doubles as a moisture extractor later.
- Microfiber towels, several of them. You want dedicated towels for applying, blotting, and drying. Cotton towels work too.
- A soft-bristled upholstery or detailing brush for cloth, and a separate softer brush for leather. Horsehair brushes are a common detailing choice for leather because they are gentle.
- The right cleaner for the material. For cloth, a low-moisture, pH-neutral foaming upholstery cleaner. For leather, a cleaner specifically labeled pH-balanced or pH-neutral and made for automotive leather.
- A leather conditioner for the second half of the leather job.
- Baking soda for odor absorption on cloth.
- A spray bottle of clean water for light rinsing, and optionally a fabric protectant for after everything is dry.
Avoid anything with bleach, ammonia, or alcohol as a primary ingredient for routine leather cleaning, since those strip the finish. Keep a hidden test spot in mind, such as the seat edge near the floor, for every new product.
How do you clean cloth car seats step by step?
The core principle for how to clean cloth car seats is restraint with moisture. You are lifting dirt to the surface and blotting it away, not drenching the fabric. A foaming cleaner that sits briefly, then gets agitated and blotted, keeps liquid out of the padding. Here is the full sequence.
- Vacuum thoroughly first. This is the single most important preparatory step. Use the upholstery attachment across the backs and bottoms, and the crevice tool along seams and the gap where the backrest meets the base. Removing loose grit now stops you from grinding it into the weave or turning it to mud once the fabric is wet.
- Spot-test the cleaner. Apply a little to a hidden area and check for discoloration or color transfer before you commit to the whole seat.
- Pre-treat visible stains. Blot any wet spills with a dry cloth first. For set-in spots, apply a touch of cleaner and give it a minute to break the stain down before you work it.
- Apply the foaming cleaner. Mist or foam it onto a section of the seat, following the label’s dilution. Work in sections rather than soaking the whole seat at once. The goal is a damp surface, not a saturated cushion.
- Agitate gently with the brush. Work the cleaner in with small circular motions. Let the bristles do the loosening; hard scrubbing frays fabric and can drive a stain deeper rather than lifting it.
- Blot out the residue. Press a clean, dry microfiber towel into the fabric to pull the loosened dirt and cleaner back up. Fold to a fresh face and repeat until the towel comes away mostly clean.
- Extract the moisture. If you have a wet/dry vac, run it over the seats to suck out as much liquid as possible. This is the fastest way to shorten drying time and the best defense against mildew.
- Repeat on stubborn areas, then vacuum again. A second light pass handles anything the first missed. A final vacuum once the surface is nearly dry picks up loosened debris.
- Dry completely with ventilation. Open the doors and windows, run a fan if you have one, and leave the car open until the seats are dry all the way through. Expect a couple of hours at minimum, longer in humid weather.
If you prefer a homemade solution, warm water with a small amount of mild laundry detergent is a common DIY option, but commercial automotive upholstery cleaners are formulated to rinse cleaner and dry faster, so they are the safer default for the whole seat.
How do you clean leather car seats without damaging them?
The method for how to clean leather car seats trades the brush-and-blot rhythm of cloth for a lighter, more protective touch. You never pour cleaner onto leather, you never saturate it, and you always follow with conditioner. You are caring for a finish, so gentleness and the right pH are everything.
- Vacuum the seats and seams. Use a soft brush attachment so you do not scratch the finish, and clear crumbs and grit from the perforations and stitching with the crevice tool.
- Test the cleaner on a hidden spot. Even pH-neutral products should be checked for color change on an inconspicuous area first.
- Apply cleaner to the cloth, not the seat. Spray a pH-balanced leather cleaner onto a microfiber towel or a soft brush rather than directly onto the leather. This controls how much product touches the surface and prevents pooling in perforations.
- Work in gentle sections. Wipe or lightly agitate one panel at a time. For textured or perforated leather, a soft brush loosens grime from the grain; let the foam do the work without pressing hard.
- Wipe away residue. Use a clean, damp microfiber towel to remove the cleaner, then a dry towel to buff the panel. Do not leave cleaner sitting on the surface.
- Let the leather dry, then condition. Once the surface is dry to the touch, apply a leather conditioner with a clean applicator pad to restore the oils cleaning removes. Spread a thin, even layer and let it absorb.
- Buff off the excess. After the conditioner has had time to soak in, buff with a dry microfiber towel so the seat is supple, not greasy or slippery.
Never clean leather in direct sun or when the seats are hot from the sun, because heat dries the leather and accelerates cracking. Work in shade or a cool garage. For routine upkeep, cleaning and conditioning every few months is typical, more often in hot climates where the leather dries faster.
Cloth vs. Leather Car Seat Cleaning
The approach to cleaning car seats differs significantly based on whether they are cloth or leather.
| Feature | Cloth Seats | Leather Seats |
|---|---|---|
| Surface Type | Porous textile | Sealed, coated hide |
| Cleaning Principle | Lift dirt, blot away | Clean protective finish |
| Moisture Tolerance | Low; avoid saturation | Low; avoid harsh chemicals |
| Post-Cleaning Step | Drying and ventilation | Conditioning, then drying |
How do you remove different types of stains from car seats?
Knowing how to remove stains from car seats means matching the solvent to the stain, because what lifts coffee will smear grease. A few rules apply across the board: act fast, because fresh stains lift far more easily than ones that have dried and oxidized; blot rather than rub, so you do not spread the stain or push it into the weave; and always test your approach on a hidden spot first. The table below covers the stains that turn up most often on upholstery.
| Stain type | What to use | Method and cautions |
|---|---|---|
| Coffee and tea | Cold water, mild upholstery cleaner | Blot up the excess immediately, dilute the spot with cold water, and dab with a paper towel or cloth. Work from the outside in. Fresh spills come out far more easily than dried ones. |
| Grease and oil | A small amount of dish soap; absorbent powder for fresh spills | For fresh grease, sprinkle an absorbent powder such as baking soda, salt, or cornmeal to draw out the oil, let it sit, then vacuum. Follow with a little dish soap worked in and rinsed. Avoid plain water-based cleaners alone, which tend to smear oil rather than dissolve it. |
| Ink | Rubbing alcohol on a cloth or cotton swab | Dab, do not rub, so you do not spread the ink. Lift it onto the swab, then rinse the area with a damp towel. Work slowly on a small area. |
| Blood | Cold water only | Never use hot water or steam, which can set the protein and make the stain permanent. Blot repeatedly with a cold, damp cloth until it lifts. |
| Mud and dirt | Let it dry, then vacuum, then spot-clean | Resist the urge to wipe wet mud, which grinds it in. Let it dry fully, vacuum the loose material, then treat any remaining stain with upholstery cleaner. |
On leather, keep all of this gentler still: a pH-neutral leather cleaner on a cloth handles most marks, and harsh solvents like straight rubbing alcohol should be avoided on the finish. For any stain that resists a couple of careful attempts, a dedicated product or a professional detailer is the sensible next step rather than escalating to stronger chemicals.
How do you get odors out with baking soda?
Smells live in the fabric and padding, and the most reliable household fix is to clean car seats with baking soda, which absorbs oils and odors rather than just masking them. It works because of its mild absorbent and deodorizing properties, and it costs almost nothing. The approach is simple but the waiting is what makes it effective.
- Vacuum the seats first so the baking soda contacts fabric, not loose debris.
- Test a hidden area for colorfastness, since any powder can occasionally affect dyed fabric.
- Sprinkle baking soda liberally across the cloth seats and let it sit. Fifteen minutes is the minimum; thirty minutes or longer gives it time to pull odor from the fibers, and for strong smells you can leave it several hours.
- For a stubborn spot, make a light paste with a small amount of water, dab it on, let it dry, and then vacuum.
- Vacuum it all up thoroughly, working the attachment into seams where powder settles.
A word of caution on leather: dry baking soda can cling to conditioned, oiled surfaces and work its way into stitching, so it is best kept to cloth. Check your manufacturer’s leather care guidance before applying any powder there. Baking soda also handles general odor well but may not fully neutralize biological messes like vomit or urine, which usually need an enzyme-based cleaner made for the job.
What are the biggest mistakes to avoid?
Most car-seat cleaning goes wrong in a handful of predictable ways. Avoiding these matters as much as the method itself.
- Oversaturating cloth seats. This is the number one error. Soaking the fabric drives water into the foam, which can take many hours to dry and breeds mildew and musty odors if the car is closed up damp. Light misting and blotting beats drenching every time.
- Using harsh or alkaline cleaners on leather. All-purpose degreasers, bleach, ammonia, and alcohol-based products strip the protective finish and the oils beneath it, leading to cracking and fading. Stick to pH-neutral leather products.
- Skipping the spot test. Color transfer and discoloration are common and irreversible. Thirty seconds on a hidden area saves a ruined seat.
- Scrubbing hard or rubbing stains. Aggressive scrubbing frays cloth, and rubbing a stain spreads it and pushes it deeper. Gentle agitation and blotting is the rule.
- Using hot water on blood or protein stains. Heat sets them permanently. Cold water only.
- Cleaning leather in direct sun or heat. It dries the material and promotes cracking. Work in shade.
- Forgetting to condition leather. Cleaning removes oils; skipping the conditioner leaves the leather to dry out and crack over time.
- Closing the car before it is fully dry. Trapped humidity can produce mildew within hours. Ventilate until the seats are dry throughout.
How should you dry the seats and protect them afterward?
Drying is arguably the most important step of the whole process, and it is the one people rush. The reason is straightforward: moisture left in cloth padding is what causes musty smells and mold, and damp leather left in a sealed car invites the same. Once you have blotted and, ideally, extracted the water with a wet/dry vac, open the doors and windows and let air move through the cabin. A fan or blower aimed at the seats speeds things up considerably. Do not close the vehicle until the seats are dry all the way through, which can mean a few hours for lightly cleaned cloth and longer in humid conditions.
Once everything is fully dry, protection is optional but worthwhile. On cloth, a water-based fabric protectant helps future spills bead up rather than soak in, buying you time to blot before they stain. Apply it only after the seat is clean and dry, never as a shortcut around drying. On leather, the conditioner you already applied is the protection, keeping the finish supple and more resistant to the next round of wear. Reapplying it periodically, rather than waiting until the leather looks dry, is what keeps seats from cracking over the long run.
Use a wet/dry vacuum to extract as much moisture as possible from cloth seats for faster drying.
Quick reference checklist
Run through this list each time and the job stays simple and repeatable:
- Identify the material first: cloth or leather, with separate kits for each.
- Vacuum thoroughly, including seams and crevices, before any liquid.
- Spot-test every cleaner on a hidden area.
- Pre-treat stains by type: cold water for blood and coffee, dish soap or absorbent powder for grease, rubbing alcohol for ink on cloth.
- For cloth: foaming cleaner, gentle brush, blot, extract, do not saturate.
- For leather: pH-neutral cleaner applied to the cloth, gentle wipe, then condition and buff.
- Deodorize cloth with baking soda, left 15 to 30 minutes or longer, then vacuum.
- Dry completely with doors open and a fan; never seal a damp interior.
- Protect once dry: fabric protectant on cloth, conditioner upkeep on leather.
- Escalate stubborn stains to a dedicated product or a detailer rather than harsher chemicals.
Clean seats are less about elbow grease than about sequence and discipline. Vacuum before you wet anything, match your product and technique to the material, keep moisture to a minimum, treat stains by their chemistry, and dry patiently. Do those five things and both cloth and leather will come back looking and smelling close to new, without the mildew and cracking that rushed cleaning leaves behind.
What works well
- cloth tolerates agitation
- cloth responds to foaming cleaners
- cloth is forgiving of scrubbing
Watch out for
- cloth punishes over-wetting
- slow drying
- mildew risk
Frequently Asked Questions
What is the best way to clean car seats?
Start by vacuuming thoroughly, then match your method to the material. For cloth, use a low-moisture foaming upholstery cleaner, agitate gently with a soft brush, blot, and dry fully. For leather, use a pH-neutral cleaner applied to a cloth, wipe gently, then condition. Keep moisture to a minimum and ventilate until the seats are completely dry.
How do you clean cloth car seats without soaking them?
Work in sections with a foaming, low-moisture cleaner rather than drenching the fabric. Mist, agitate with a soft brush, then blot the residue out with a dry microfiber towel. A wet/dry vac to extract moisture is the best way to shorten drying time and prevent mildew in the foam padding.
What cleaner is safe for leather car seats?
Use a cleaner specifically labeled pH-balanced or pH-neutral and made for automotive leather, followed by a leather conditioner. Avoid products with bleach, ammonia, or alcohol as primary ingredients, since alkaline and harsh cleaners strip the protective finish and natural oils, leading to cracking and discoloration.
Can you clean car seats with baking soda?
Yes, on cloth seats. Vacuum first, sprinkle baking soda liberally, let it sit at least 15 to 30 minutes to absorb oils and odors, then vacuum it up. For a stubborn spot, use a light paste of baking soda and water. Keep baking soda off leather, where dry powder can cling to oils and settle into stitching.
How do you remove stains from car seats?
Match the solvent to the stain and act fast. Use cold water for blood and coffee, dish soap or an absorbent powder for grease, and rubbing alcohol for ink on cloth. Always blot rather than rub so you do not spread the stain, and test any product on a hidden area first.