Cleaning a Keurig involves two separate jobs: surface cleaning of removable parts and the exterior, and descaling of internal components. Regularly performing both tasks ensures faster brewing, better taste, and a longer lifespan for your machine.
- Cleaning handles visible coffee residue on parts like the pod holder, drip tray, and exterior.
- Descaling addresses invisible mineral buildup (scale) inside the water lines, pump, and heating element.
- You will need dish soap, warm water, a soft cloth, white vinegar or descaling solution, a mug, and a paperclip.
- Always unplug the machine and let it cool before cleaning internal parts or needles.
- The entrance and exit needles are common causes of weak cups and partial pours if clogged.
- A thorough routine includes both cleaning and descaling, as one does not substitute for the other.
Gather Supplies
Collect all necessary cleaning items.
Prepare Machine
Unplug and allow the machine to cool completely.
Clean Removable Parts
Wash and dry the water reservoir, drip tray, and pod holder.
Clean Exterior
Wipe down the machine's housing and spout.
Clear Needles
Unclog the entrance and exit needles with a paperclip.
Rinse and Reassemble
Run water-only cycles and replace parts.
Learning how to clean a Keurig really means learning two separate jobs that run on different schedules. Cleaning is the surface work: wiping the exterior, washing the removable parts like the drip tray and pod holder, and clearing the needles of coffee grounds and oils. Descaling is the internal job: running vinegar or a descaling solution through the water lines, pump, and heating element to dissolve the mineral scale that regular cleaning can never reach. Do both, and your brewer pours faster, tastes cleaner, and lasts longer.
Unplug the machine and allow it to cool completely before touching any internal parts or needles to prevent burns and nicks.
What is the difference between cleaning and descaling a Keurig?
People use the words interchangeably, but they target different kinds of grime in different places.
Cleaning handles the parts you can see and touch. Coffee is oily, and over weeks that oil leaves a residue on the pod holder, the funnel, and the needles, while splashes and dust collect on the housing and in the drip tray. Cleaning is mostly soap, warm water, and a cloth. It keeps flavors from going stale and stops grounds from building into a clog.
Descaling handles what you cannot see. Every time your Keurig heats water, dissolved minerals (mostly calcium and magnesium) are left behind inside the tank, the pump, and the narrow internal tubing. That hardened deposit is called scale or limescale. It chokes water flow, muffles the heating element, and eventually makes the machine brew slow, weak, lukewarm cups, or refuse to brew at all. Soap will not touch scale; it takes an acid, which is where vinegar or a commercial descaling solution comes in.
A simple way to remember it: cleaning is for coffee residue, descaling is for mineral buildup. A thorough routine includes both, because one does not substitute for the other.
What do you need to clean a Keurig?
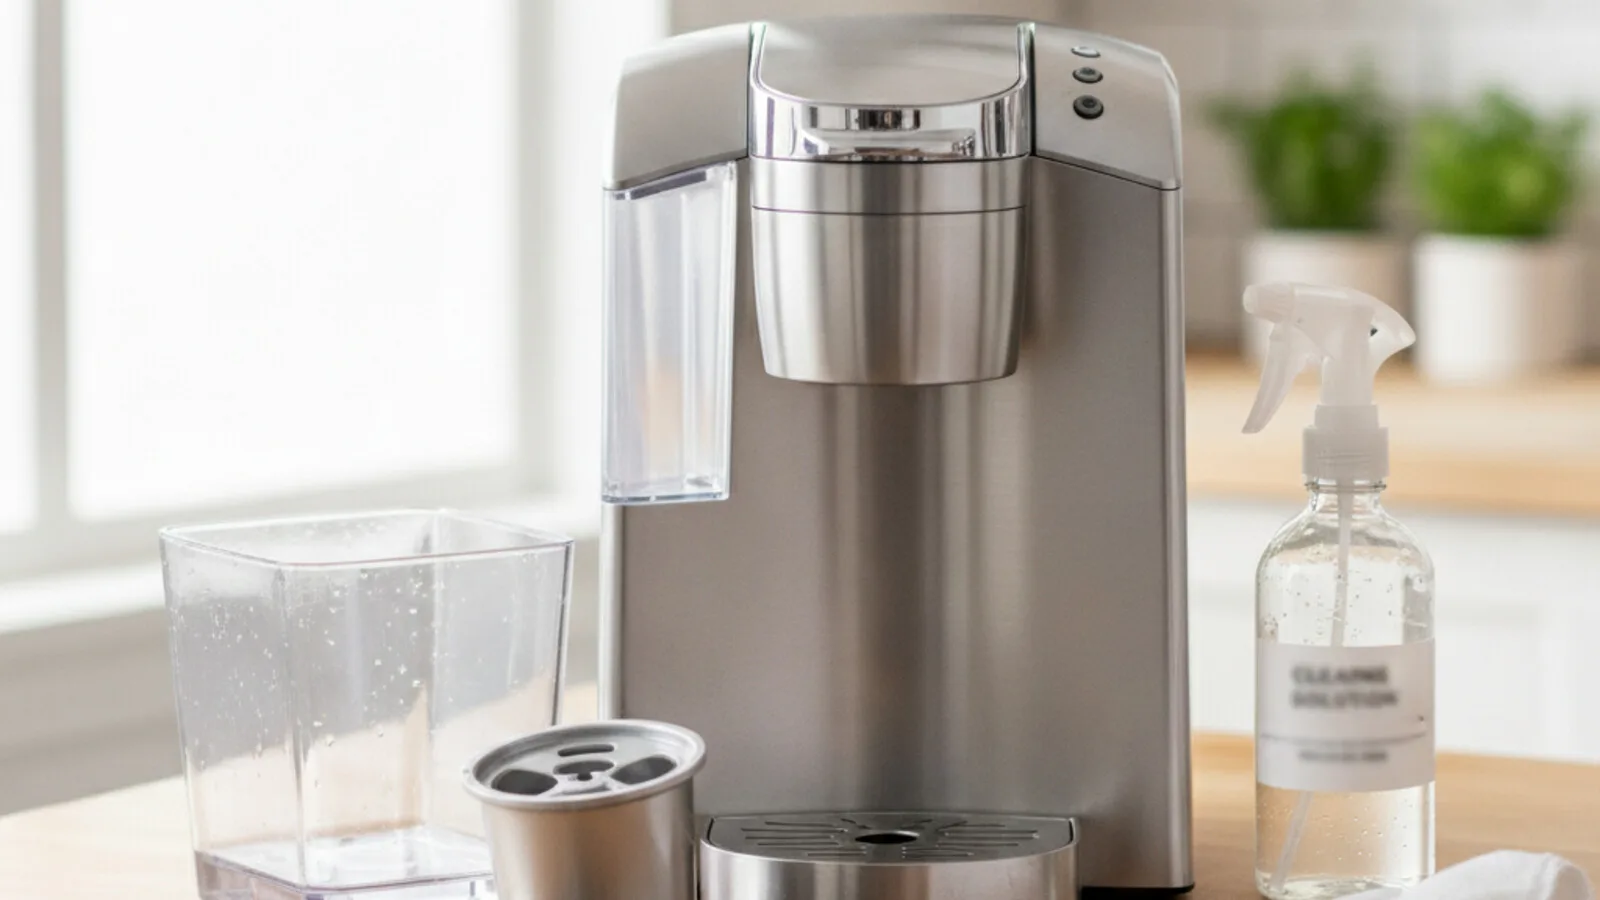
You do not need much, and most of it is already in your kitchen. Gather these before you start:
- Dish soap and warm water for the removable parts.
- A soft cloth or sponge plus a clean, dry cloth for wiping down.
- White vinegar or a Keurig-compatible descaling solution for the internal descale.
- A large ceramic mug to catch water during brew cycles.
- A paperclip (unbent) or Keurig’s official needle-cleaning tool for the needles.
- Fresh, filtered water for the rinse cycles.
- Optional: a soft toothbrush for tight corners and the pod-holder funnel.
Before you touch any internal part, unplug the machine and let it cool. The needles are genuinely sharp, and the water inside can be hot. This single habit prevents both burns and nicked fingers.
How to Clean a Keurig: the everyday routine
This is the surface cleaning that keeps a clean Keurig coffee maker tasting right. Aim to do it weekly, or whenever you notice splashes and grounds.
Start with the removable parts. Lift out the water reservoir and its lid, the drip tray, the drip-tray cover, and the pod holder (also called the K-Cup holder). Most of these are dishwasher-safe on the top rack, but hand-washing in warm, soapy water is gentle and quick. Rinse well so no soap film remains, then set everything on a towel to air dry. Do not force wet parts back in; trapped moisture invites mold, especially inside the reservoir.
Pay special attention to the pod holder and funnel. This is where spent grounds and oil collect, and a soft toothbrush helps clear the funnel channel. Hold the pod holder up to the light and make sure the little exit tube at the bottom is clear.
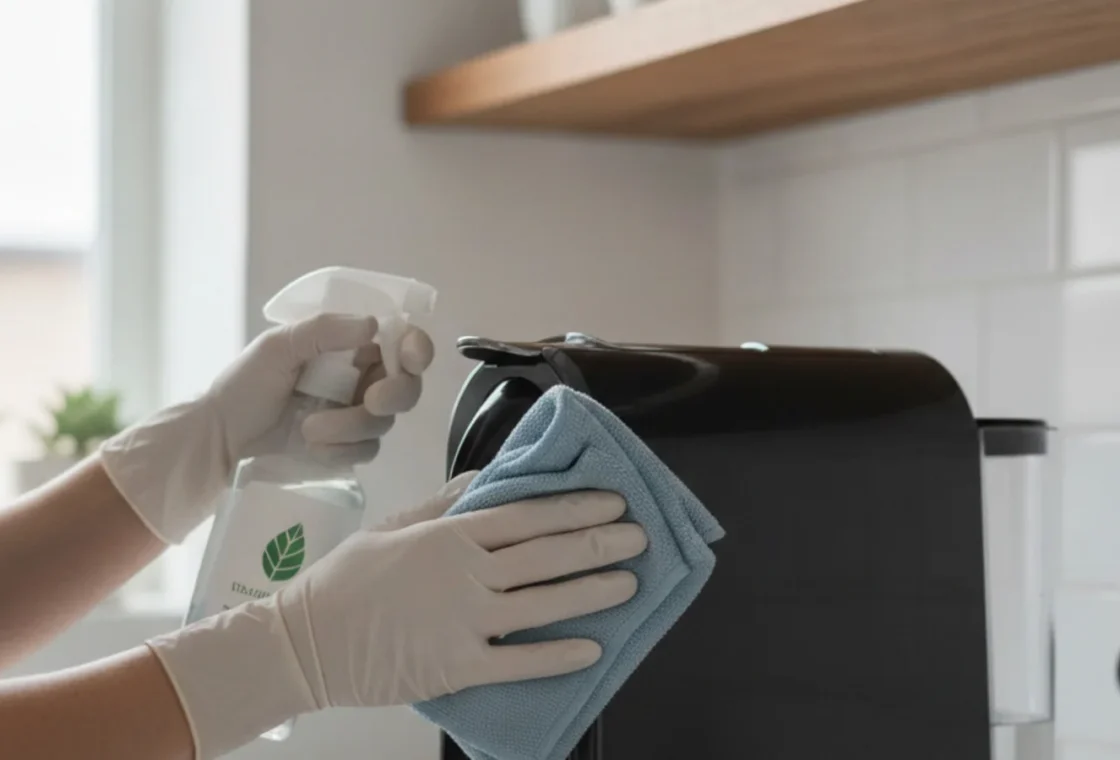
Next, the exterior. Wipe the housing, the handle, the drip area, and the spout with a damp cloth. For the reservoir, avoid abrasive scrubbers that scratch the plastic, since scratches harbor residue. Dry everything with a clean cloth.
Finally, reassemble and run one or two water-only brew cycles with no pod, using the largest cup setting. This flushes the brew path and confirms the reservoir is seated correctly. If your model uses a replaceable charcoal water-filter cartridge in the reservoir, check its age and swap it on the schedule in your manual, as a clogged or old filter slows flow and dulls taste.
How do you clean a Keurig needle?
The needle is the most overlooked part of the machine and the most common cause of weak cups and partial pours. Knowing how to clean a Keurig needle solves problems that descaling alone will not.
Most brewers have two needles. The entrance needle sits inside the top of the brew head, under the lid, and punctures the top of the pod. The exit needle is at the bottom of the pod holder and punctures the base of the pod so brewed coffee can drain. Both get clogged with fine grounds and dried coffee oil. (Needle placement varies by model, so if what you see does not match this, check your manual.)
Unplug the machine and let it cool for at least 30 minutes first. Then:
- Clear the exit needle. Remove the pod holder, turn it over, and slide an unbent paperclip into the small tube at the bottom. Wiggle it gently for about 30 seconds to break up the clog. Rinse the pod holder and funnel in warm, soapy water.
- Clear the entrance needle. Lift the handle to expose the needle under the lid. Carefully insert the paperclip into the two side holes of the needle and move it around to dislodge debris. Keep your fingers clear of the point.
- Flush the path. Reassemble the dry parts, fill the reservoir, and run two water-only brew cycles on the largest setting with no pod. This pushes loosened grit out of the line.
Keurig also sells a dedicated cleaning tool that forces water through the needle area, but a paperclip does the same job for free. If cups are still weak after the needles are clear, the next suspect is scale, which means it is time to descale.
How to descale a Keurig step by step
This is the core of how to descale a Keurig, and the steps are the same whether you use vinegar or a solution. Plan for about an hour, most of it hands-off.
- Prep the machine. Turn it off, make sure no pod is inside, and empty the drip tray. Empty the reservoir and, if you have a charcoal filter cartridge, remove it, since the acid can damage it and the filter would absorb what you are trying to flush.
- Add the descaling liquid. To clean a Keurig with vinegar, pour plain white vinegar into the reservoir. Sources differ on strength, from equal parts vinegar and water up to undiluted vinegar; a common middle ground is about one part vinegar to one part water. For a commercial product, follow the bottle’s ratio exactly.
- Run cycles into a mug. Place your large mug on the drip tray and run brew cycles with no pod, on the biggest cup size. Pour out the mug between cycles and keep going until the reservoir is nearly empty.
- Let it soak. When the “add water” point is reached, turn the machine off and let the remaining solution sit inside to dissolve stubborn scale. Guides suggest anywhere from 30 minutes up to a few hours; longer helps if buildup is heavy, but even a short soak beats skipping it.
- Rinse thoroughly. This step matters most. Discard any leftover solution, wash the reservoir, fill it with fresh filtered water, and run repeated water-only cycles. Keep going until there is no vinegar smell or taste at all, refilling as needed. It often takes several full reservoirs to clear it.
- Reassemble. Put the clean filter cartridge (or a new one) back, and your brewer is ready. If your model has a descale light, reset it per the manual once rinsing is done.
A note on warranty: sources disagree on whether vinegar can affect a Keurig warranty, with some warning that non-Keurig descalers might void it and others saying vinegar poses no real risk. If the warranty matters to you, read your terms or use Keurig’s own solution to be safe.
Cleaning vs. Descaling a Keurig
Cleaning and descaling target different types of grime in different areas of your coffee maker.
| Feature | Cleaning | Descaling |
|---|---|---|
| Target | Coffee residue, splashes, dust | Mineral scale (limescale) |
| Location | Exterior, removable parts, needles | Internal tank, pump, tubing, heating element |
| Method | Soap, warm water, cloth, paperclip | Acid (vinegar or descaling solution) |
| Purpose | Prevents stale flavors, clogs | Restores water flow, heating efficiency |
Should you clean a Keurig with vinegar or descaling solution?
Both dissolve scale effectively. The choice comes down to cost, smell, and peace of mind. Here is how they compare:
| Factor | White vinegar | Descaling solution |
|---|---|---|
| Cost | Very cheap; usually already in the pantry | More expensive; a purchased product |
| Availability | Found in nearly every kitchen | Bought from a store or online |
| Effectiveness on scale | Good; acetic acid dissolves mineral buildup | Good; formulated specifically for the job |
| Aftertaste | Strong smell; needs many rinse cycles to clear | Designed to rinse cleaner, with little or no odor |
| Rinsing effort | Higher; several reservoirs of fresh water | Lower; still rinse, but usually fewer cycles |
| Warranty peace of mind | Unsettled; some sources warn it may affect warranty | Manufacturer-recommended, so no warranty question |
Practical take: vinegar is the budget-friendly choice and works well if you rinse patiently. A descaling solution costs more but saves rinsing time, smells better, and removes any doubt about the warranty. Citric acid is a third option some guides prefer for its clean rinse. Whichever you pick, the rinse afterward is non-negotiable.
Why should you use filtered water in a Keurig?
Scale is simply minerals left behind by water, so the harder your water, the faster scale forms. Filtered water contains fewer dissolved minerals than most tap water, which means less deposit inside the machine and longer gaps between descales. It also tends to taste better in the cup, since off-flavors from chlorine and minerals are reduced.
This is why the water you pour in directly affects how often you have to clean. Homes with hard water will see scale build quickly and should descale more often; homes with soft or filtered water can stretch the interval. Using filtered water is the single easiest habit for cutting down maintenance, and many owners simply keep a filter pitcher next to the brewer for refills.
What should you do if your Keurig is not working?
A Keurig not working is usually a clog or a scale problem, not a dead machine. Work through these in order before assuming the worst.
It brews weak, partial, or no cups. Suspect the exit needle first. Unplug, cool the machine, clear both needles with a paperclip as described above, then run water-only cycles. A clogged needle is the number-one cause of short pours.
It brews slowly or tastes off. This points to scale. Run a full descale, then rinse thoroughly. If a descale light stays on afterward, the solution may have been too weak or a clog remains; run the cycle again or try a stronger descaler, and reset the light per your manual.
It says “prime,” won’t pump, or all lights flash. This is often an air lock or a reservoir problem. Remove the reservoir, refill it to (but not past) the MAX line, and reseat it firmly in its base so the valve engages. Many brewers pump fine once the tank is properly seated and the air is cleared with a water-only cycle.
It still won’t cooperate. Try unplugging it for a few minutes to reset, confirm the water filter (if used) is seated and not old, and check your model’s manual. If nothing works, a pump or heating fault may need Keurig support, since those are hardware repairs rather than cleaning tasks.
How often should you clean and descale a Keurig?
Think of it as three overlapping rhythms:
- Weekly: wipe the exterior, and wash the drip tray, pod holder, and reservoir.
- Every few weeks (or when cups weaken): clear the entrance and exit needles.
- Every 3 to 6 months: descale the internal water system. Keurig’s commonly cited guidance is every 3 to 6 months.
Water hardness shifts that descaling window. If you have hard water, lean toward the 3-month end or even more often; with soft or filtered water, 6 months is usually fine. Let the machine tell you too: slow flow, weaker coffee, unusual gurgling, or a descale light are all signs to descale sooner. For heavy daily use, tighten every interval.
What mistakes should you avoid?
A few common missteps do more harm than the dirt itself:
- Skipping the rinse after descaling. Leftover vinegar or solution ruins the next several cups and can linger for days. Rinse until there is no smell.
- Descaling but never cleaning the needles. Descaling does not touch a grounds clog. If cups are short, the needle is usually the issue.
- Leaving the charcoal filter in during a descale. The acid damages the cartridge and the filter soaks up the solution. Remove it first.
- Using the dishwasher on parts that are not labeled safe. Check your manual; when in doubt, hand-wash.
- Cleaning the needles while plugged in or hot. Unplug and cool first; the needles are sharp and the water burns.
- Reassembling parts while wet. Trapped moisture breeds mold. Let everything air dry.
- Ignoring your water. Filling with hard tap water guarantees frequent scale. Filtered water prevents much of the problem.
- Abrasive scrubbers on the reservoir. Scratches trap residue and cloud the plastic.
For hard-to-reach areas like the pod-holder funnel, a soft toothbrush can be very effective.
Your quick Keurig cleaning checklist
Keep this near the brewer as a fast reference:
- Unplug and cool the machine before any internal work.
- Wash the reservoir, drip tray, and pod holder in warm, soapy water weekly.
- Wipe the exterior and spout with a damp cloth, then dry.
- Clear the entrance and exit needles with a paperclip when cups weaken.
- Remove the charcoal filter before descaling.
- Descale with vinegar or solution every 3 to 6 months, sooner for hard water.
- Soak, then rinse with several reservoirs of fresh water until no smell remains.
- Run two water-only cycles to confirm flow and clear the path.
- Refill with filtered water to slow future scale.
- Reset the descale light and let parts air dry before reassembly.
Cleaning handles the coffee residue you can see, descaling handles the mineral scale you cannot, and clearing the needles fixes most weak-cup complaints. Run those three on their own rhythms, pour in filtered water, and your Keurig keeps delivering fast, full, good-tasting cups for years.
What works well
- Cleaner taste
- faster brewing
- longer machine life
- prevents clogs
Watch out for
- Takes time
- requires specific supplies
- potential for burns or nicks
Frequently Asked Questions
What is the difference between cleaning and descaling a Keurig?
Cleaning removes coffee residue from surfaces and removable parts like the drip tray, pod holder, and needles using soap and water. Descaling uses vinegar or a descaling solution to dissolve mineral scale inside the water lines, pump, and heating element. You need both, on different schedules.
How do you clean a Keurig with vinegar?
Empty the reservoir and remove the charcoal filter, then add white vinegar (commonly about one part vinegar to one part water). Run pod-free brew cycles into a mug until nearly empty, let it soak 30 minutes or more, then rinse with several reservoirs of fresh water until no vinegar smell remains.
How do you clean a Keurig needle?
Unplug and cool the machine. Slide an unbent paperclip into the exit needle at the bottom of the pod holder and wiggle for about 30 seconds, then clear the entrance needle under the lid through its side holes. Rinse the parts and run two water-only brew cycles to flush debris.
How often should you descale a Keurig?
Every 3 to 6 months is the commonly cited guidance. Descale more often (toward every 3 months) if you have hard water, and less often if you use soft or filtered water. Slow flow, weak coffee, or a descale light are signs to do it sooner.
Why is my Keurig not working?
Most often it is a clogged needle or mineral scale, not a dead machine. Clear both needles with a paperclip and run water-only cycles first, then descale if it brews slowly. For a prime error, refill the reservoir to the MAX line and reseat it firmly to clear any air lock.