To clean a toaster, unplug it and let it cool, then remove and empty the crumb tray. Turn the toaster upside down and shake out loose crumbs, then brush the interior with a soft brush, wash removable parts, and wipe the exterior.
- Always unplug the toaster and let it cool completely before cleaning to prevent electric shock and burns.
- Regularly cleaning your toaster prevents scorched smells, uneven toasting, and fire hazards from accumulated crumbs.
- Use a soft-bristled brush to dislodge crumbs from the interior without damaging the delicate heating wires.
- Never use abrasive pads, steel wool, spray cleaners, or metal utensils inside the toaster.
- The crumb tray is often overlooked; check the underside or back edge if you can't find it.
Unplug and Cool
Unplug the toaster and let it cool completely.
Remove Crumb Tray
Pull out and empty the crumb tray.
Shake Loose Crumbs
Turn the toaster upside down and shake gently.
Brush Interior
Brush crumbs from inside slots with a soft brush.
Wash Removable Parts
Wash removable parts in warm soapy water.
Wipe Exterior
Wipe the exterior with a damp cloth.
Here is how to clean a toaster the right way: unplug it, let it cool completely, pull out and empty the crumb tray, then turn the toaster upside down over the sink and shake the loose crumbs free. Finish by brushing out the interior with a soft brush, washing any removable parts in warm soapy water, and wiping the exterior with a damp cloth. The single rule that never bends is that you never submerge the body of the toaster in water, because the heating elements and wiring inside are not sealed against moisture.
Never submerge the body of the toaster in water, as the electrical components are not sealed against moisture.
That is the whole job in one breath. The rest of this guide slows it down, because the details are where people either save five minutes or quietly turn a crumb tray into a fire hazard. We will cover the pop-up toaster first, then the toaster oven, because the two machines look related but clean differently.
Why does a toaster need cleaning at all?
A toaster is essentially a slotted metal box with exposed nichrome heating elements and a tray underneath to catch the fallout. Every slice of bread, bagel, waffle, or frozen pastry sheds crumbs, seeds, and fat. Those particles drop onto the crumb tray or lodge against the elements. Left alone, they do three things. They start to smell scorched every time you toast. They brown your bread unevenly as they block airflow and shield parts of the element. And, most seriously, dry crumbs sitting on or near a glowing element can char and ignite.
Manufacturer safety sheets and consumer-appliance guides treat this as a real risk rather than a scare story: crumbs that collect near the heating elements can char and catch, and crumbs blocking the vents force the appliance to work harder and run hotter. If the toaster sits under a cabinet or beside a bread bag or paper towels, a flare-up has fuel waiting right next to it. Cleaning is maintenance, not vanity.
There is a hygiene angle too. A warm, crumb-filled cavity is a feeding station for pantry pests, and old fat goes rancid, which is where that stale “burnt toast” odor usually comes from even when nothing is burning.
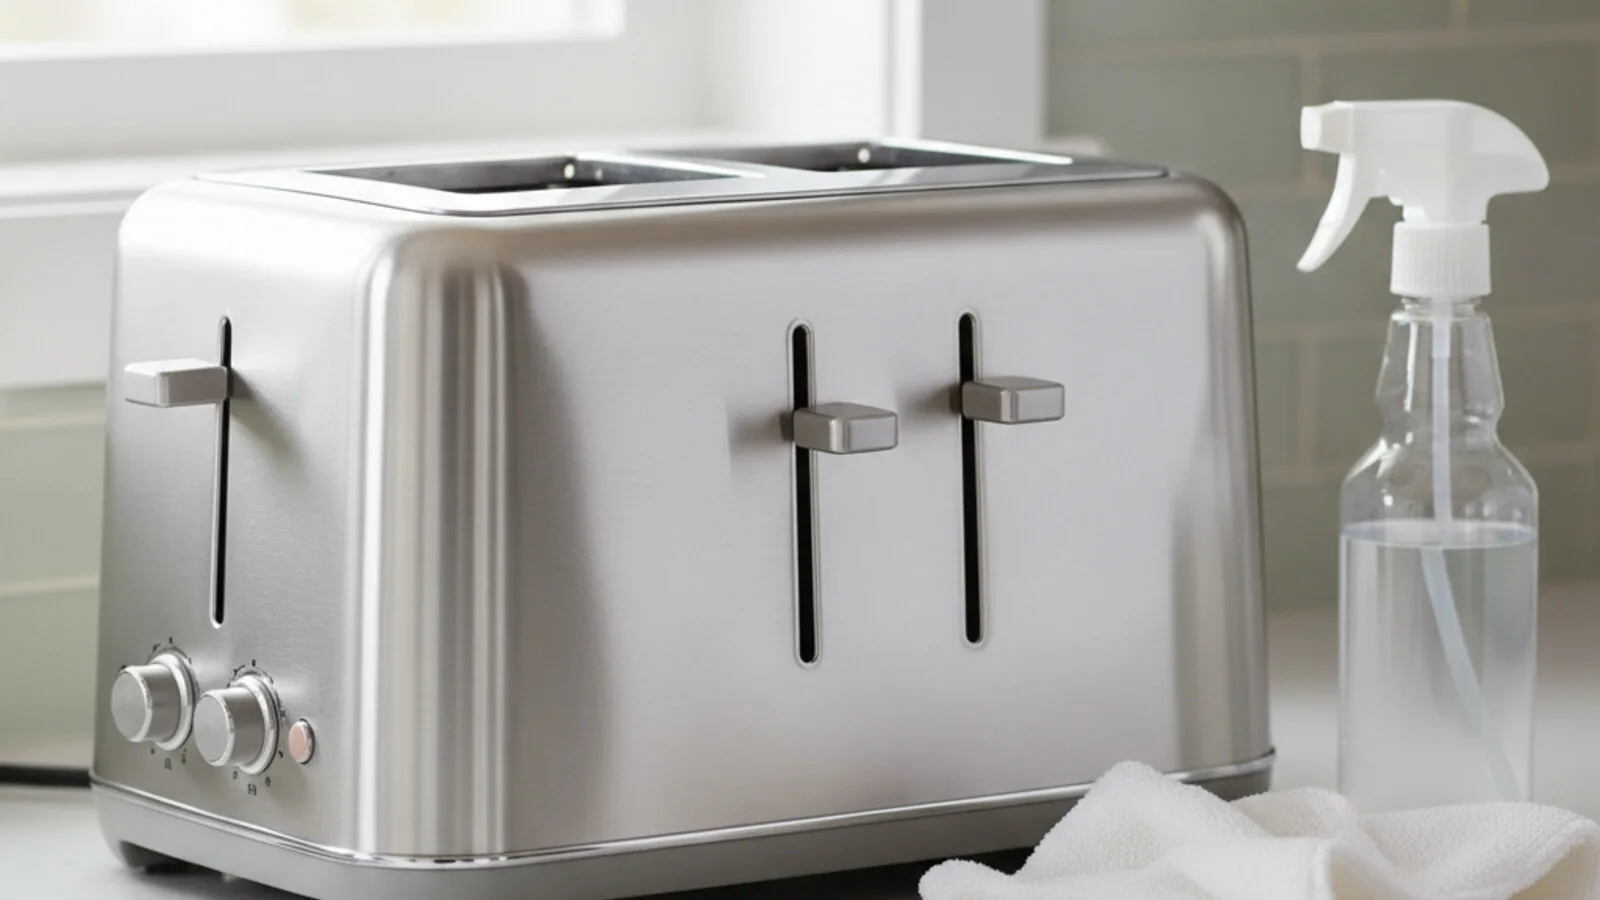
What do you need to clean a toaster?
You do not need a specialty kit. Most of this is already in your kitchen. Gather the following before you start so you are not hunting for a brush mid-job:
- A soft-bristled brush. A clean, dry pastry brush, a soft paint brush, or an old soft toothbrush all work. The goal is to dislodge crumbs from crevices without snapping the delicate heating wires. Skip anything stiff or metal.
- Dish soap and warm water. For the crumb tray and any other removable parts.
- A microfiber or soft cloth, plus a second dry one. One damp for wiping, one dry for buffing.
- White vinegar (optional). A little on a cloth helps lift fingerprints and grease from a stainless exterior.
- Baking soda (optional). Mainly for a toaster oven’s greasy glass and racks, not for the pop-up toaster’s interior.
- A sink or trash can to shake crumbs into, and a flat surface with room to turn the toaster over.
What to leave in the cupboard matters just as much: no abrasive scouring pads on painted or stainless bodies, no steel wool anywhere near the slots, no spray cleaner aimed into the toaster, and no knives or forks poked inside. More on why below.
How do you clean a pop-up toaster step by step?
This is the core routine. Work through it in order, because the sequence is what keeps you safe. The whole thing takes under ten minutes once the toaster has cooled.
- Unplug it and let it cool completely. Pull the plug from the wall, not just switch it off. A toaster element stays dangerously hot for several minutes after the last cycle, and cleaning a live appliance risks a shock. This first step is non-negotiable and appears in essentially every manufacturer manual.
- Remove the crumb tray. Most toasters have a removable crumb tray at the base, usually a thin metal or plastic drawer that slides or pops out from one end or the bottom. Find the small tab or lip and pull it straight out. If you have never noticed it, check the underside and the back edge; it is easy to miss, which is exactly why so many trays go years untouched.
- Empty the tray over the trash. Tip the collected crumbs out. If they are stuck on with grease, that is your cue it is overdue for a wash.
- Turn the toaster upside down over the sink and shake gently. With the tray out, invert the whole toaster over a sink or an open trash can and give it a few firm but gentle shakes. This is how you clear the crumbs that never make it to the tray, the ones wedged against the elements and in the corners. Rotate it and shake from a couple of angles. Do not bang it hard against the counter; you can bend the internal cage.
- Brush the inside slots. With the soft brush, reach down into the slots and sweep crumbs loose, then invert and shake again. Angle the brush along the wire elements rather than jabbing across them. The point is to clean inside the toaster without bending or breaking the heating wires. Take your time around the crevices and corners where the stubborn bits hide.
- Wash the crumb tray. Wash the tray in warm, soapy water, scrub off any baked-on grease, rinse, and set it aside. Check your manual first; most trays are hand-wash only and should not go in the dishwasher, where heat can warp thin metal or plastic.
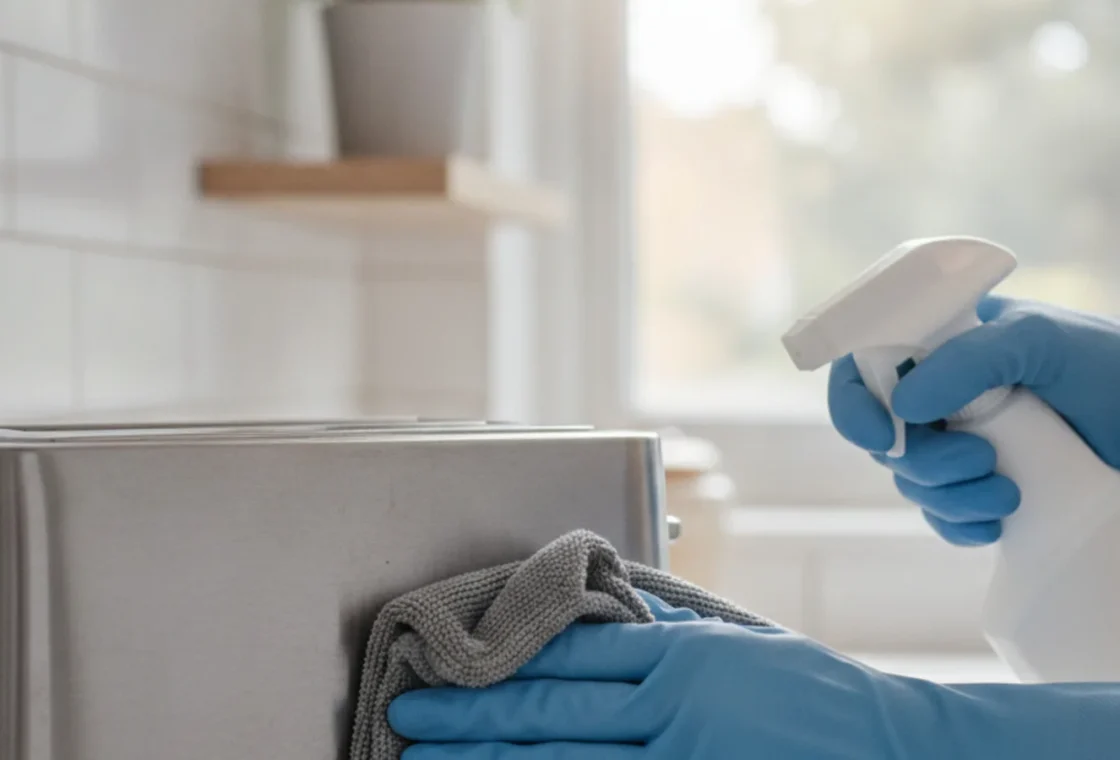
- Wipe the exterior. Dampen a cloth with warm soapy water (or a little vinegar for stainless) and wipe the outside, including the lever and any dials. Wring the cloth well so it is damp, not dripping. Never spray cleaner directly onto the toaster, as liquid can run into the slots and vents.
- Dry everything fully, then reassemble. This is the step people rush and regret. Make sure the crumb tray and the exterior are bone dry before the tray goes back in and the toaster gets plugged in. Any trapped moisture inside the body is both a shock risk and a corrosion risk. When in doubt, give it an extra 15 to 30 minutes of air-drying.
Only when the tray is seated and everything is dry should you return the toaster to its spot and plug it back in. A short dry-run cycle in a ventilated kitchen will burn off any last trace of moisture.
How do you clean a toaster safely?
Almost every toaster-cleaning accident traces back to ignoring one of a handful of rules. To clean a toaster safely, treat the appliance as what it is: exposed electrical heating elements in a metal shell with no waterproofing inside.
- Always unplug before you touch it. Even a wipe-down of the exterior should happen on an unplugged, cooled machine.
- Never immerse the toaster body in water. Manufacturer manuals from brands including Philips, Hamilton Beach, and Bosch explicitly warn against putting the toaster in water or any liquid, and Bosch ties it directly to the risk of electric shock and damage to the electrical parts. A viral habit of rinsing toasters in the sink is exactly what appliance experts warn against, because water inside the housing can cause shock, ruin components, and create a fire risk later. Water damage to internal parts is also commonly excluded from warranty coverage.
- Keep metal out of the slots, especially while plugged in. Do not dig around inside with a knife, fork, or any metal tool. If something is stuck, unplug first, then use the soft brush or your shaking technique. Metal against a live element is a direct path to a shock.
- Let it cool fully. Burns are the most common minor injury here, and a rushed cleaner reaching into a warm slot is the usual cause.
- Dry before reconnecting power. Covered above, but it earns a second mention because it is the step that undoes an otherwise careful job.
Follow those five and the job is genuinely low-risk. Break the water rule and you can destroy the toaster or hurt yourself.
How is cleaning a toaster oven different?
A toaster oven is a small countertop oven, so it collects not just dry crumbs but baked-on grease, cheese drips, and splatter on its interior walls, glass door, wire rack, and slide-out tray. The safety rules carry over, but the method adds a degreasing step, and you have far more removable, washable parts to work with.
Here is the toaster-oven routine:
- Unplug and cool. Same first move as the pop-up toaster.
- Remove the crumb tray, racks, and pans. Take out every removable part: the slide-out crumb tray at the bottom, the wire rack, and any baking pan or drip tray. Shake the crumbs into the trash first.
- Soak the greasy parts. Submerge the tray, racks, and pans in hot water with dish soap. A soak of roughly 15 to 20 minutes loosens most grease; heavy, baked-on buildup can sit longer, even overnight. These parts, unlike the toaster body, are safe to immerse because they carry no wiring. Still, confirm against your manual before putting any of them in the dishwasher.
- Scrub the walls and glass door. For the interior and the glass, a baking-soda paste is the gentle standard. Mix baking soda with just enough water to make a spreadable paste, smear it over the greasy walls and the inside of the glass door, and let it sit 15 to 20 minutes (longer for stubborn stains). Then wipe away with a damp cloth. It takes more patience than a chemical oven cleaner but avoids harsh fumes near your food surfaces.
- Scrub and rinse the soaked parts. A sponge usually clears the loosened grease; a non-scratch scouring pad handles tougher spots. Avoid harsh abrasives that can scratch non-stick or enamel coatings.
- Wipe the exterior. Same as the toaster: damp cloth, vinegar for stainless, cloth wrung out so nothing drips into the vents or controls.
- Dry everything and reassemble. Make sure the cavity, glass, racks, and trays are fully dry before the parts go back and the oven is plugged in.
Two toaster-oven cautions worth flagging. First, be careful with any suggestion to scrape the glass with a razor blade; it can clear stubborn carbon but it also scratches glass, so use it sparingly and at a low angle if at all. Second, your manual may warn against specific cleaners on coated interiors, so when a surface looks special, check before you spray.
Why Clean Your Toaster?
Regular cleaning addresses several issues that arise from accumulated crumbs and grease.
| Issue | Impact if Uncleaned | Benefit of Cleaning |
|---|---|---|
| Smell | Scorched odor, rancid fat | Fresh smell, no stale odors |
| Toasting | Uneven browning, blocked airflow | Even toasting, efficient operation |
| Safety | Fire hazard, overheating | Reduced fire risk, appliance longevity |
| Pests | Attracts pantry pests | Deters pests, better hygiene |
Toaster versus toaster oven: a quick comparison
If you own both, this table sums up where the two routines diverge so you are not second-guessing which rules apply.
| Task | Pop-up toaster | Toaster oven |
|---|---|---|
| Unplug and cool first | Yes, always | Yes, always |
| Main soil type | Dry crumbs, light fat | Crumbs plus baked-on grease and splatter |
| Shake upside down over sink | Yes, key step | Optional; mostly lift out the tray |
| Remove crumb tray | Yes | Yes, plus racks and pans |
| Soak removable parts in water | Tray only, by hand | Tray, racks, and pans; longer soaks OK |
| Degrease interior walls and glass | Not applicable | Yes, baking-soda paste |
| Submerge the main body | Never | Never |
| Typical cleaning time | Under 10 minutes | 20 to 40 minutes with soaking |
The throughline is the last two rows: the removable parts are washable on both machines, but the electrified body of either appliance never goes in water.
How do you clean a stainless steel toaster exterior?
A stainless or chrome shell shows every fingerprint and water spot, which is why the outside often looks dirtier than the inside. The fix is simple and gentle. Wipe the exterior with a cloth dampened in warm soapy water, including the knobs and lever, then go over it again with a clean damp cloth to remove soapy residue. For the final shine, a little white vinegar on a microfiber cloth dissolves lingering fingerprints and grease; buff dry with a second cloth. On a brushed finish, wiping in the direction of the grain gives the cleanest look and avoids streaks. A dedicated stainless cleaner is an optional step if you want extra polish, but plain dish soap and vinegar handle the everyday job. As always, apply any liquid to the cloth, never spray it onto the toaster.
What should you never do when cleaning a toaster?
The mistakes below are the ones that cost people a toaster, a shock, or a scorched kitchen. Each is easy to avoid once you know it.
- Never immerse or rinse the toaster body in water. This is the headline rule. The housing is not sealed; water reaches the elements and wiring and does not fully evaporate. Only the removable crumb tray (and a toaster oven’s racks and pans) go in water.
- Never poke metal into the slots while plugged in. No knives to pry out a stuck English muffin, no forks, no metal skewers. Unplug first, then use a soft brush or turn the toaster over.
- Never clean it hot or plugged in. Burns and shocks both start here. Cool and unplug every time.
- Never spray cleaner directly into or onto the toaster. Liquid runs into the slots and vents. Dampen the cloth instead.
- Never use steel wool or harsh abrasives on the body. They scratch stainless and strip painted finishes. Soft cloths and non-scratch pads only.
- Never put the toaster, or usually its tray, in the dishwasher. The body obviously cannot go in, and most crumb trays are hand-wash only; dishwasher heat warps thin metal and plastic. Check the manual.
- Never reassemble while anything is damp. Trapped moisture equals shock and corrosion risk. Dry fully, then plug in.
How often should you clean a toaster?
There is no single official standard here; the guidance comes from appliance-care sources and manufacturer habit, and it scales with how hard you use the machine. The most consistent recommendation is this: empty the crumb tray about once a week if you toast most days, and give the toaster a deeper clean, brush-out and exterior wipe, roughly once a month.
Adjust up from there based on what you toast. If you regularly run crumbly or greasy items, think bagels, seeded bread, waffles, buttered toaster pastries, or anything that drips, clean more often, in some cases after each use. A toaster oven used daily may want a weekly wipe to stop it from smoking up the kitchen, while one used occasionally can usually go a month between cleanings.
Let the machine tell you, too. Smoke, a persistent burning smell, uneven browning, or crumbs falling out of the slots are all signs that buildup has crossed from cosmetic to worth-clearing-now. When you see those, do not wait for the calendar.
A soft pastry brush or an old soft toothbrush works well for brushing out the interior slots.
Quick toaster-cleaning checklist
Print this or keep it in your head. It works for both the pop-up toaster and, with the degreasing additions noted, the toaster oven.
- Unplug the toaster and let it cool completely.
- Slide out the crumb tray and empty it into the trash.
- Turn the toaster upside down over the sink and shake out loose crumbs.
- Brush the interior slots with a soft brush, then shake again.
- Wash the crumb tray in warm soapy water; hand-wash, not dishwasher.
- For a toaster oven, soak the racks and pans and paste-clean the glass and walls with baking soda.
- Wipe the exterior with a damp cloth, with the grain on stainless, a touch of vinegar for shine.
- Dry every part fully before reassembling.
- Reinsert the tray, plug back in, and run one short empty cycle in a ventilated room.
- Empty the tray weekly, deep clean monthly, and more often for greasy or crumbly foods.
Cleaning a toaster is one of the lowest-effort, highest-payoff chores in the kitchen. Ten minutes clears the crumb tray that doubles as a fire hazard, kills the stale smell, and brings back even browning, all without a single risky shortcut. Keep the water on the tray and off the body, dry everything before it goes back together, and your toaster will keep earning its counter space.
What works well
- Prevents scorched smells
- Ensures even toasting
- Reduces fire risk
- Deters pantry pests
Watch out for
- NONE
Frequently Asked Questions
Can you wash a toaster with water?
Only the removable crumb tray (and a toaster oven's racks and pans) should go in water. Never immerse or rinse the toaster body itself, because water reaches the heating elements and wiring and can cause an electric shock, damage the appliance, and create a later fire risk. Wipe the exterior with a damp cloth instead.
How do I get crumbs out of the inside of a toaster?
Unplug and cool the toaster, slide out and empty the crumb tray, then turn the whole toaster upside down over the sink or trash and shake gently. Finish by sweeping the interior slots with a soft-bristled brush, angling along the heating wires rather than across them, and shake once more.
How often should I clean my toaster?
Empty the crumb tray about once a week if you toast most days, and do a deeper brush-out and exterior wipe roughly once a month. Clean more often, sometimes after each use, if you toast greasy or crumbly foods like bagels, waffles, or buttered pastries. Smoke, burning smells, or uneven browning mean clean now.
How is cleaning a toaster oven different from a pop-up toaster?
A toaster oven collects baked-on grease as well as crumbs, so it adds a degreasing step. Remove the crumb tray, racks, and pans and soak them in hot soapy water, then clean the interior walls and glass door with a baking-soda paste left on for 15 to 20 minutes. The rule not to submerge the main body still applies.
What should you never do when cleaning a toaster?
Never submerge the toaster body in water, never poke metal tools like knives or forks into the slots (especially while plugged in), never clean it hot or plugged in, never spray cleaner directly into the slots, and never reassemble while any part is still damp. Skip steel wool and the dishwasher for the body and most trays.