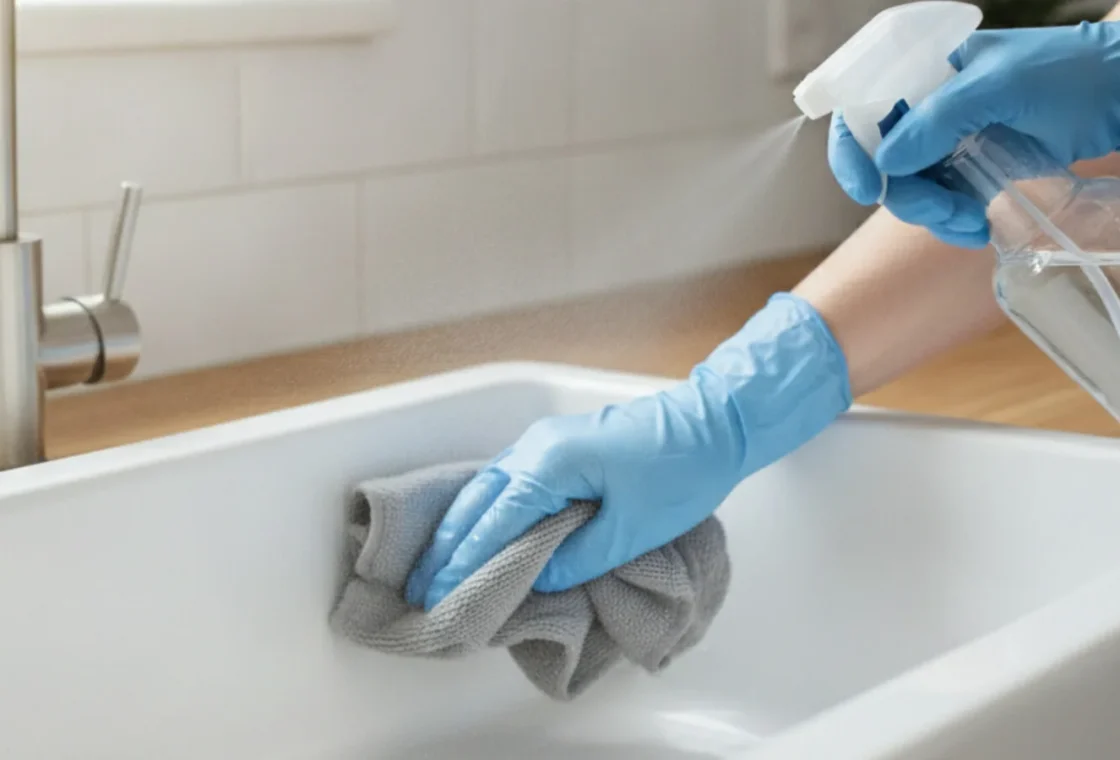
To clean a sink drain, regularly clear the strainer/stopper, use a baking soda and vinegar treatment followed by a hot water flush, and periodically clean the P-trap. These habits prevent odors, slow drainage, and clogs.
- Regularly clearing the strainer and stopper prevents most odor and slow drainage issues.
- A baking soda and vinegar treatment helps loosen light buildup and deodorize the drain.
- Always flush with hot tap water; use hotter water only for metal pipes and grease.
- Avoid chemical drain cleaners, as they can damage pipes and are often ineffective for real clogs.
- Periodically cleaning the P-trap is essential for deeper cleaning and addressing stubborn issues.
- Gather all tools and ingredients before starting to ensure a smooth cleaning process.
Clear and Pull
Remove visible debris from the sink and drain opening.
Scrub Stopper and Strainer
Clean the stopper or strainer with a brush and soap.
Baking Soda and Vinegar
Pour baking soda, then vinegar, into the drain and let it fizz.
Flush with Hot Water
Run hot tap water to flush the drain.
Reinstall and Test
Replace the stopper and check drainage.
Learning how to clean a sink drain comes down to three habits: clearing the visible gunk out of the strainer and stopper, running a baking soda and vinegar treatment followed by a hot-water flush, and periodically pulling and rinsing the P-trap, the curved pipe under the sink that both blocks sewer gas and quietly collects sludge. Do those three things on a schedule and you will rarely deal with odor, slow drainage, or a full clog. This guide walks through the exact method, the tools you need, how to handle a smelly drain and a garbage disposal, and the mistakes that cost people money (hello, chemical drain cleaners). Everything here works for a standard kitchen or bathroom sink, whether you have PVC or metal pipes underneath.
Do not use very hot (near-boiling) water on PVC pipes, as it can soften plastic joints.
What do you need to clean a sink drain?
You do not need specialty products. Most of this comes from the pantry and the under-sink cabinet. Gather these before you start so you are not hunting mid-job with a wet hand:
- Baking soda (sodium bicarbonate) — about 1 cup.
- White vinegar — about 1 cup.
- Hot water from the tap, and a kettle of near-boiling water held in reserve (use the near-boiling water only on metal pipes; more on that below).
- A bucket or shallow pan that fits under the P-trap.
- Channel-lock or slip-joint pliers — most plastic slip nuts loosen by hand, but pliers help with stubborn or metal ones.
- An old toothbrush or bottle brush for scrubbing the strainer, stopper, and trap.
- Rubber gloves and a flashlight.
- A drain brush or flexible plastic zip-it tool for pulling hair and debris out of a bathroom drain.
- A cup plunger (the flat kind, not the toilet flange style) in case the drain is actually clogged rather than just dirty.
- Old rags or paper towels — trap water smells, and it will spill.
Optional but worth having on hand: an enzyme drain cleaner for monthly maintenance, and a pair of long tongs or needle-nose pliers if you are fishing anything out of a garbage disposal.
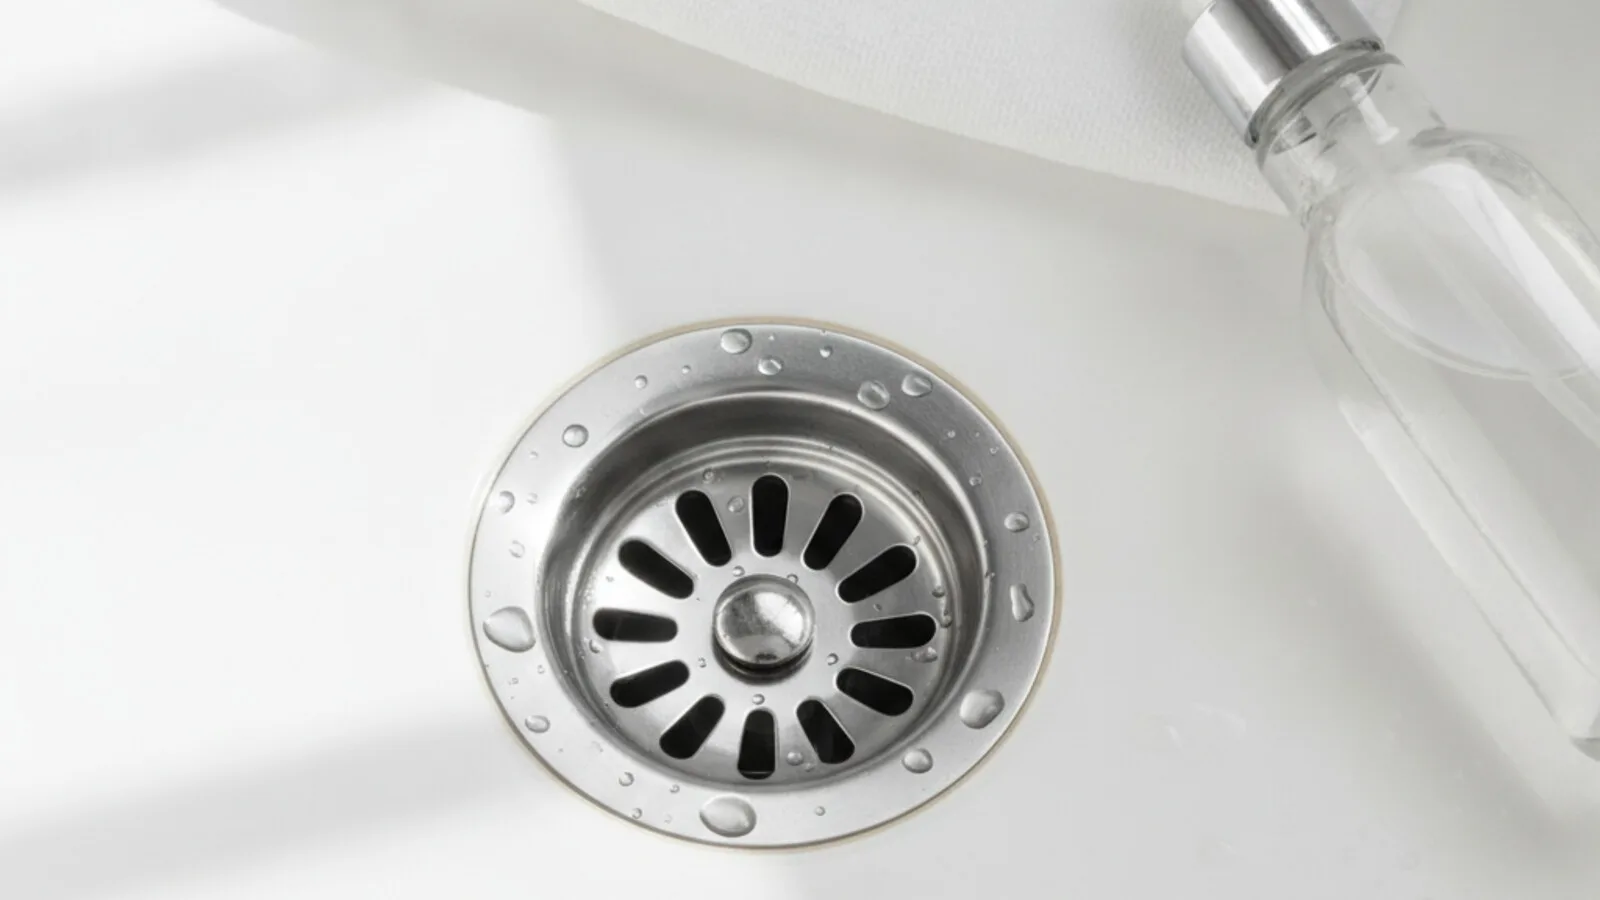
How do you clean a sink drain step by step?
This is the core routine. It takes about 20 minutes of active work, most of which is waiting. Work from the top of the drain downward so you are not pushing loosened grime deeper into the line.
- Clear the sink and pull the stopper or strainer. Remove any dishes and standing water. In a kitchen sink, lift out the basket strainer. In a bathroom sink, pull the pop-up stopper — most lift straight out, though some require you to loosen the pivot rod nut behind the drainpipe first.
- Scrub the stopper and strainer. This part collects the slimy biofilm and hair that cause most odor and slow drainage. Scrub it with the toothbrush, hot water, and a little dish soap or baking soda until it is clean. Bathroom pop-ups are notorious for wrapping themselves in a mat of hair — clear it fully before reinstalling.
- Remove surface debris from the drain opening. Push the zip-it tool or drain brush down a few inches and pull out whatever comes with it. Do this before adding anything liquid.
- Pour in the baking soda. Send roughly 1 cup of baking soda directly down the drain, nudging it past the opening with a spoon or your gloved finger so it is sitting in the pipe, not piled in the basin. The drain should be empty, not holding water, so the powder actually reaches the walls of the pipe.
- Add the vinegar and let it fizz. Pour about 1 cup of white vinegar in slowly. It will foam up immediately. Cover the drain with the stopper or a rag to push the fizzing action downward, and let it sit 10 to 15 minutes. The foaming helps lift grime off the pipe walls; it is a scrubbing and deodorizing step, not a heavy-duty clog buster.
- Flush with hot water. Run hot tap water down the drain for a minute or two to carry everything away. Hot tap water (commonly around 120–140°F from a home water heater) is the safe default for any pipe material.
- For grease and metal pipes only, follow with hotter water. If you have metal pipes and the issue is greasy buildup, a kettle of hot — not rolling-boil — water poured in stages can help flush it. Skip this on PVC: very hot water can soften plastic joints, and even on metal, boiling water tends to move grease rather than remove it, letting it re-solidify farther down the line. When in doubt, stick with hot tap water.
- Reinstall the stopper and test. Put the clean stopper or strainer back, run water, and watch that it drains freely without gurgling or backing up. If it still drains slowly, the problem is a clog or the P-trap, not surface grime — keep reading.
One honest caveat about the baking soda vinegar sink drain method: when the two combine they produce carbon dioxide and water, and that reaction fizzes out fast. It is genuinely useful for loosening light buildup and cutting odor, but it is not a reliable way to dissolve a real blockage. If you want a deeper clean, treat the baking-soda-and-vinegar step as maintenance and pull the P-trap (next section) for anything stubborn.
How do you clean a smelly sink drain and the P-trap?
If you want to know how to clean a smelly sink drain, you have to understand the P-trap, because that is almost always where the smell lives. The P-trap is the U- or J-shaped bend in the pipe directly under the sink. It is designed to hold a small plug of water at all times, and that water seal is what stops sewer gas from drifting up into your kitchen or bathroom. Two things go wrong with it.
A dry P-trap. In a sink you rarely use — a guest bath, a basement utility sink — the water in the trap can evaporate, breaking the seal and letting sewer gas straight through. The smell is distinctly sewage-like. The fix is almost comically simple: run the faucet for a minute or two to refill the trap. To prevent it, run water in every sink about once a week.
A dirty P-trap. Food, grease, soap scum, and hair collect in the bend and decompose, feeding bacteria that give off hydrogen sulfide — that rotten-egg or musty odor that lingers even after you have scrubbed the basin. A slow-draining sink makes this worse because standing water gives bacteria more time to grow. When the smell is musty rather than sewer-like, or it survives a baking-soda treatment, the trap needs to come apart.
To physically clean the P-trap:
- Put a bucket directly under the trap. It is holding water and whatever has collected in it, and all of that is coming out.
- Loosen the two slip nuts that hold the trap onto the drainpipe and the wall pipe. Many are hand-tight plastic; use pliers gently if they resist. Lower the trap into the bucket.
- Empty and scrub it. Dump the contents, then run the bottle brush and hot soapy water through the curve until the inside walls are clean. This is usually where the smell has been hiding.
- Check the washers and reassemble. Make sure the rubber or nylon washers are seated correctly, hand-tighten the slip nuts, then snug them a touch with pliers. Run water and watch for drips at both joints.
Avoid pouring bleach down the drain as a deodorizer — it does not remove the buildup that is actually causing the smell, and it is harsh on pipes and any septic system. If the trap is cracked or badly corroded, or the odor persists after a thorough cleaning, that points to a venting problem or a deeper line issue and is worth a plumber’s visit.
How do you clean a kitchen sink drain and garbage disposal?
A clean kitchen sink drain has one extra wrinkle the bathroom does not: grease and, often, a garbage disposal. Kitchen drains clog because fats, oils, and food solids congeal on the pipe walls, so the baking-soda-and-vinegar routine above matters more here, and so does never sending grease down in the first place.
If you have a disposal, the single most important rule is a safety rule: never put your hand down into a garbage disposal, and cut the power at the switch (or the breaker) before you reach in for anything. The grinding components can injure you severely. If something is stuck, use long tongs or needle-nose pliers, not fingers. With that understood, here is how to clean a garbage disposal:
- Scour the grind chamber with ice and salt. Drop in about 2 cups of ice and 1 cup of coarse rock or kosher salt, turn on the cold water, and run the disposal until the ice is gone. The ice and salt act as a gentle abrasive that knocks food film off the components. Use cold water, not hot — hot water softens grease and spreads it around.
- Deodorize with baking soda and vinegar. With the disposal off, sprinkle about half a cup of baking soda into the chamber, pour in a cup of white vinegar, and let it foam for about 10 minutes. Then flush with cold or warm running water.
- Freshen with citrus. Run a handful of lemon, lime, or orange peels through with the water running. Citrus peels do not really clean the unit, but they leave it smelling fresh and help cut lingering odor.
- Scrub the splash guard. The rubber baffle at the mouth of the disposal is a hidden grime magnet. With the power off, lift its flaps and scrub the underside with a toothbrush — this is one of the most overlooked sources of kitchen-sink smell.
Run cold water for a few seconds every time you use the disposal and keep running it a moment after the grinding noise stops, so waste clears the pipe instead of settling in it.
How to Clean Different Parts of Your Drain
This table compares methods for cleaning various components of your sink drain.
| Component | Method | Purpose | Tools |
|---|---|---|---|
| Strainer/Stopper | Scrub with brush, hot water, soap/baking soda | Remove biofilm, hair, and odor | Old toothbrush, dish soap or baking soda |
| Drain Opening | Push and pull zip-it tool or drain brush | Remove surface debris, hair, and gunk | Drain brush or flexible plastic zip-it tool |
| Pipe Walls | Baking soda and vinegar treatment, hot water flush | Loosen light grime, deodorize | Baking soda, white vinegar, hot tap water |
| P-trap | Disassemble, empty, and scrub | Remove sludge, blockages, and odors | Bucket, pliers, old toothbrush, rubber gloves |
Which drain-cleaning method should you use?
Different situations call for different tools. Use this table to match the method to the problem rather than reaching for the same thing every time.
| Method | Best for |
|---|---|
| Scrubbing the strainer / stopper | Routine odor and slow drainage; the first thing to try, since most gunk collects here |
| Baking soda + vinegar + hot-water flush | Light buildup, mild smells, and regular maintenance — not real clogs |
| Pulling and cleaning the P-trap | Persistent musty or sewer smell, and debris you cannot reach from above |
| Cup plunger | An actual blockage with standing water; a physical clog near the drain |
| Ice + salt, then citrus | Scouring and deodorizing a garbage disposal |
| Enzyme drain cleaner | Slow, ongoing maintenance that digests organic buildup over several hours |
| Hot (not boiling) water in stages | Minor grease buildup in metal pipes only — avoid on PVC |
| Chemical drain cleaner | Rare, last-resort use on a severe clog; generally better to avoid (see below) |
A note on enzyme cleaners: these use biological agents (bacteria and enzymes) to slowly digest organic matter like food and grease. They are much gentler on pipes than caustic chemicals and are well suited to monthly upkeep, but they are slow — often working overnight or 8 to 12 hours — and they will not blast through a hard blockage. Think of them as prevention, not rescue. For a true physical clog, a plunger or a drain snake does the job without chemistry.
What should you never do when cleaning a sink drain?
The mistakes here matter as much as the method, because a few of them can damage your plumbing or your health.
- Do not rely on chemical drain cleaners routinely. Caustic and acidic drain cleaners clear clogs through a heat-generating reaction, and that heat can weaken and crack older or plastic pipes over time. Leftover product also sits in the pipe after the clog clears, compounding the damage. Repeated monthly use is a red flag: it masks a deeper cause (buildup farther down the line, a slope problem, roots, or a failing pipe) instead of fixing it. These products can also cause chemical burns and eye injury and can harm a septic system. If you must use one, use it once as a last resort — never mix it with other cleaners, and never follow it with a plunger, which can splash the chemical back at you.
- Do not pour grease, fat, or cooking oil down the drain. It looks liquid when hot and congeals solid as it cools, coating the pipe walls and catching every bit of food that follows. This is the number-one cause of kitchen clogs. Pour cooled grease into a can or jar and throw it in the trash.
- Do not use boiling water on PVC. Water at a rolling boil (212°F) can soften plastic pipe joints. Stick to hot tap water on plastic; reserve hotter water for metal pipes and even then pour it in stages.
- Do not put your hand in a garbage disposal — ever, and especially not without cutting the power first. Use tongs.
- Do not pour bleach down the drain to kill odor. It does not remove the buildup causing the smell and is rough on pipes and septic systems.
- Do not ignore a chronically slow drain. Repeatedly treating the symptom lets the real problem grow into an expensive one.
How do you unclog a sink drain if it is actually blocked?
Cleaning and unclogging are different jobs. If water is pooling and barely moving, you need to unclog a sink drain, not just deodorize it. Work mechanically, in this order:
- Plunge it. Use a flat cup plunger. Fill the basin with enough water to cover the plunger’s lip, seal over the drain, and pump firmly a dozen times. In a double kitchen sink, block the other drain with a wet rag so the pressure goes down the pipe, not sideways.
- Pull the P-trap. Bucket underneath, slip nuts off, and clear whatever is caught in the bend — clogs frequently lodge right there.
- Snake the line. If the trap is clear but water still backs up, feed a drain snake (auger) or a zip-it tool into the pipe beyond the trap to break up or hook the blockage.
- Call a plumber if it keeps returning, drains elsewhere in the house are also slow, or you hit something you cannot reach. Recurring clogs usually mean buildup deeper in the line that a surface fix will not solve.
Notice that chemical cleaner is not on this list. Mechanical methods clear physical blockages more reliably and without the risk to your pipes.
How often should you clean a sink drain?
Frequency depends on use, but a reasonable rhythm keeps nearly everyone clog- and odor-free. Treat these as guidelines, not hard rules — a busy family kitchen needs more attention than a guest bathroom:
- Daily: run cold water through the garbage disposal with every use; wipe grease into the trash rather than the drain.
- Weekly: clear and rinse the strainer or stopper; run water briefly in any sink you rarely use so the P-trap seal does not dry out.
- Every 1–2 weeks: run the baking soda and vinegar treatment followed by a hot-water flush as light maintenance.
- Monthly: deodorize and scour the garbage disposal with ice, salt, and citrus; optionally use an enzyme cleaner overnight.
- A few times a year: pull and scrub the P-trap, especially on kitchen sinks and any drain that has started to smell or slow down.
For a deeper clean or stubborn issues, treat the baking soda and vinegar step as maintenance and pull the P-trap.
Quick sink-drain cleaning checklist
Keep this list handy for a full clean-out:
- Clear the sink and remove the stopper or strainer.
- Scrub the stopper, strainer, and (on a disposal) the rubber splash guard.
- Pull hair and surface debris from the drain opening.
- Pour in baking soda, then vinegar; cover and wait 10–15 minutes.
- Flush with hot tap water (hotter, staged water for grease in metal pipes only).
- For a garbage disposal: ice + salt, then baking soda + vinegar, then citrus — power off before reaching near it.
- If the smell or slowness persists, bucket up and clean the P-trap.
- If water is standing, plunge and then snake rather than reaching for chemicals.
- Reinstall everything, run water, and confirm it drains freely with no leaks at the trap.
Cleaning a sink drain is not a once-a-year ordeal; it is a handful of small habits. Catch the gunk at the strainer, keep grease out of the pipe, run a gentle baking-soda-and-vinegar pass now and then, and give the P-trap a real cleaning a few times a year. Do that, and you will keep the drain flowing, the kitchen or bathroom smelling clean, and the plumber’s number unused.
What works well
- Loosens light buildup
- Cuts odor
- Uses common household items
Watch out for
- Not for heavy clogs
- Fizzing action is fast
- May not dissolve blockages
Frequently Asked Questions
What is the best way to clean a sink drain?
Scrub the strainer or stopper first, since most gunk collects there. Then pour about 1 cup of baking soda down the drain, follow with 1 cup of white vinegar, let it fizz for 10 to 15 minutes, and flush with hot tap water. For anything stubborn or smelly, pull and clean the P-trap underneath the sink.
Does baking soda and vinegar really clean a sink drain?
Yes for maintenance, no for serious clogs. The fizzing reaction loosens light buildup and cuts odor, but it produces carbon dioxide and water and dissipates quickly, so it will not dissolve a real blockage. Use it as routine upkeep and rely on a plunger, a snake, or cleaning the P-trap for actual clogs.
Why does my sink drain still smell after I clean it?
The odor usually comes from the P-trap, not the basin. A dry trap lets sewer gas through and is fixed by running water for a minute or two; a dirty trap harbors decomposing food and bacteria and needs to be unscrewed and scrubbed. Avoid bleach, which masks odor without removing the buildup causing it.
How do I clean a garbage disposal safely?
Cut the power and never put your hand inside. Grind about 2 cups of ice with 1 cup of coarse salt under cold water to scour the chamber, deodorize with baking soda and vinegar, then run citrus peels through for freshness. Scrub the rubber splash guard with a toothbrush, since it hides a lot of grime.
Are chemical drain cleaners bad for your pipes?
Routine use is risky. Caustic cleaners clear clogs through a heat-generating reaction that can weaken or crack older and plastic pipes over time, and leftover product keeps working on the pipe after the clog clears. They can also cause burns and harm septic systems. Use mechanical tools or enzyme cleaners instead, and save chemicals for rare last resorts.